Protecting your hard drives can help prevent unwanted access and adds more security to your data. Windows allows encryption of files and folders through the Encryption File System or EFS. Once your drives are encrypted, you will see a padlock or lock icon on your drives.
Pro and Enterprise editions of Windows 10 has a BitLocker feature that puts drives in a locked state and encrpyt them for added protection. EFS is not as strong as BitLocker but works efficiently too. When you encrypt your files and drives, no one is allowed access to them unless decrypted using your Windows user account password.
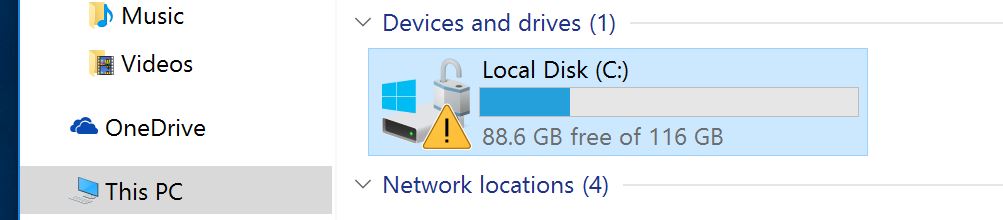
Why is There a Padlock or Lock Icon?
When you see a padlock or lock icon on your files, it only means that these files have extra protection and not shared with anyone. In some cases, users modify their sharing options or security features hence the padlock icon appears. The lock icon allows users to identify the files or drives that are encrypted and those that are not.
How to Remove Padlock or Lock Icon from your Files and Folders
You will need your BitLocker password to unlock the lock icon. Click on the drive or folder that you want to access. You will be asked for the password. Simply type in the password and the padlock icon will unlock.
Folders with unlock icons means that their protection is temporarily suspended so you do not need to enter the password to access.
1 – Change Your Permission Setting
- Locate the folder, file, or drive that you want to modify.
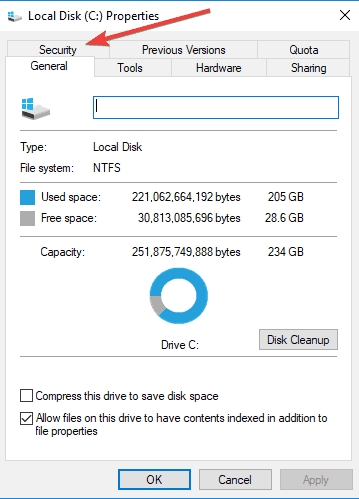
- Right click to open drop down menu and choose Properties.
- Next, look for the Security tab and select Edit.
- Check the list of users or groups with defined permission to the drive and see if you are in the list of if it defines Everyone.
- If not, click Add. If you are in the list, click Allow Full Control.
- Then, click OK.
- To double check if the changes were applied, type your user or group name and click Check Names. The results will show the name of your computer and your user or group name. Click OK since changes were applied.
- If the results show a Name not Found error, repeat the process of adding your user or group name.
- Under the Security/Permissions window, choose the user or group you added and check the Full Control option.
- Click OK to apply the changes.
2 – Turn Off EFS
- Select the file, folder, or drive and right click to open drop down menu.
- Click Properties.
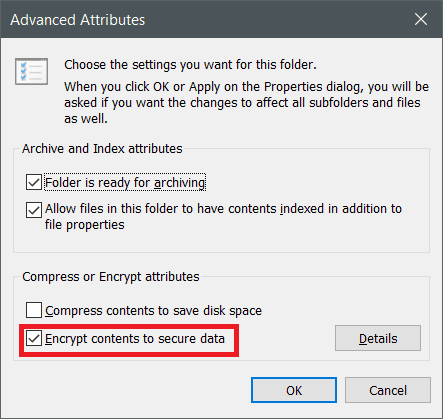
- Locate Advanced and click to open.
- At the bottom, make sure the Encrypt contents to secure data is unchecked.
- Click OK and see if the icon has been removed.
3 – Disable Your BitLocker
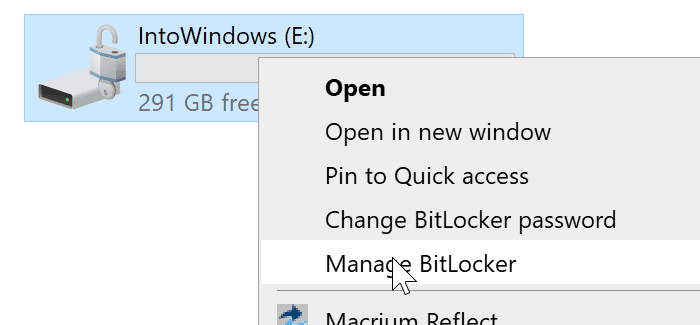
- Locate the drive that you want to disable your BitLocker.
- Right click to view drop down menu and click Manage BitLocker.
- Once inside the BitLocker Drive Encryption, look for the Turn Off BitLocker option at the lower right side and select.
- A confirmation window will appear. Click Turn off the BitLocker button to confirm turn off process.
- Wait for the process to end and close window.
How to Restore or Resume your BitLocker Protection
Resuming your BitLocker Protection will lock the padlock icon after you have unlocked it for user access. If you want to resume the protection, follow the steps below.
- On the drive that you want to change, right click and look for the Resume BitLocker Protection button.
- Click to initiate the changes.
- Restart your computer and see if the padlock or lock icon has been removed.
Conclusion
Added protection on your files is important in case of online hacks and unwanted access. However, if you do not need added security to some of your files or drives, you can remove the padlock icon using the methods above. Was the article helpful? Let us know in the comments below.