
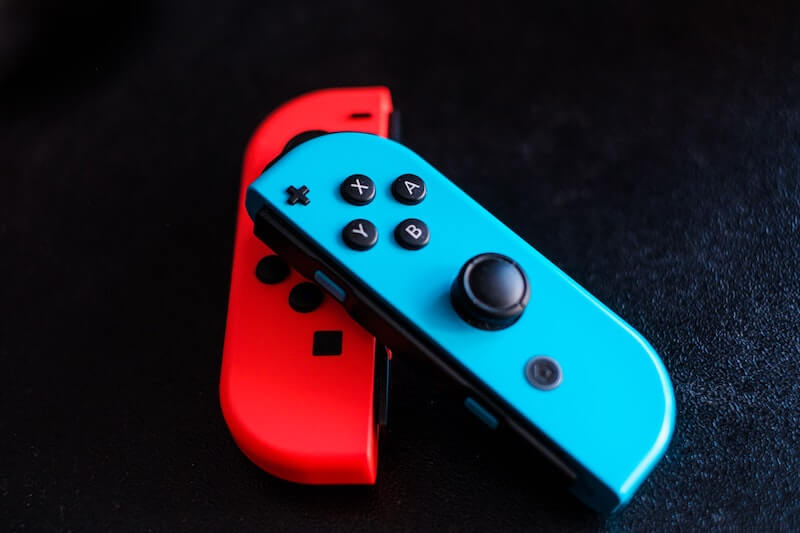
Using Nintendo Switch Joy-Con control sticks can help you maximize your gaming experience. But sometimes, you may encounter issues with your joysticks that prevent you from enjoying your game. There are instances when the gaming controller is drifting or not working properly as intended.
Some of the most common problems with Nintendo Switch Joy-Con control sticks include not responding correctly, not displaying the battery charge indicator, and getting stuck or difficult to move around.
Another known issue with the Nintendo Switch controller affecting a lot of users as of late is the Joy-Con drift problem. It happens when your on-screen characters or the joysticks cursor simply starts moving about even without you doing anything.
If you experience errors like these while using your Nintendo Switch Joy-Con control sticks, there are go-to troubleshooting and repair methods to help you fix and resolve these issues in no time.
Ways to Troubleshoot Nintendo Switch Joy-Con Controller Drifting, Not Responding and Other Errors
To help you fix common problems you see on your Nintendo Switch Joy-Con control sticks, follow the solutions below.
#1 – Power Cycle your Nintendo Switch Console
Turn off your Nintendo Switch Console and unplug all devices for at least 5 minutes.
Plug all devices back in and turn on your console.
#2 – Button Remap your Nintendo Switch Joy-Con Control Sticks
- Navigate to the Home screen.
- Go to System Settings.
- Select Controllers and Sensors.
- Choose Change Button Mapping.
- Select a controller.
- Choose Change.
- Now, choose any button and set a new function for it.
- Once done, select Back.
- Choose Done.
#3 – Choose a Preset Configuration for your Nintendo Switch Joy-Con Control Sticks
- Go to System Settings.
- Choose Controllers and Sensors.
- Select Change Button Mapping.
- Choose a controller.
- Select Load a Preset Mapping.
- Choose an existing configuration for your controller.
- Select Back.
- Select Done.
#4 – Switch to a Different Input Side
- Navigate to System Settings.
- Head over to Controllers and Sensors.
- Select Change Button Mapping.
- Choose the current controller you want to change.
- Select either Change to Right Stick or Change to Left Stick, depending on the controller you use.
- Choose Back.
- Choose Done.
#5 – Calibrate your Nintendo Switch Joy-Con Control Sticks
- From System Settings, head over to Controllers and Sensors.
- Choose Calibrate Control Sticks.
- Tilt your control stick in a single direction.
- Follow the prompts on your screen.
#6 – Update your Nintendo Switch Joy-Con Control Sticks Firmware
- Go to System Settings.
- Select Controllers and Sensors.
- Choose Update Controllers.
#7 – Install Available System Update on your Nintendo Switch Console
- Navigate to System Settings.
- Select System.
- Choose System Update.
#8 – Reset your Nintendo Switch Joy-Con Control Sticks to Factory Settings
- Head over to System Settings from the Home screen.
- Go to Controllers and Sensors.
- Choose Change Button Mapping.
- Select a controller.
- Choose Reset.
- Choose Reset again.
- Do the same process with the other controller.
Do you have other solutions to troubleshoot Nintendo Switch Joy-Con joysticks errors? You can share them in the comment section below.