
Using the Internet has become a part of our everyday lives. We use it to search for something, look for food options, access our money, connect with friends and family, and accomplish our work responsibilities. Not only are we online in our office or at home, but we also connect to the Internet even when we are in public places.
One of the risks of using the Internet when you are outside your home or office is potential hacking. Using a public WiFi network connection can increase the chance of hackers gaining access to your personal accounts. Public Internet connections are not reliable and secure. When you connect to the same network that hackers can easily access, they can find means to get into your device.
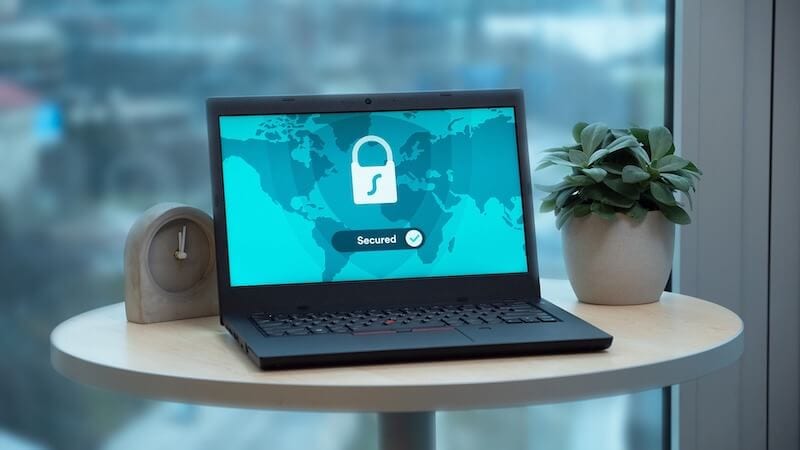
An excellent way to keep your browsing safe and private is by using a VPN service. Virtual Private Network or VPN can add another level of security each time you use the Internet by encrypting your connections. It creates a more complex route that gives you a different location and makes you untraceable.
For instance, when you install Cisco VPN on Windows 10, the VPN service will create a new pathway that will lead you to a different place, so your connection appears like you are thousands of miles away from your real current location. Even if you use the network connection in a cafe or local shop, nobody knows exactly where you are connecting online.
How do you Setup and Use a VPN Service Correctly on Windows 10 or 11 PC?
Most VPN services work both on Windows 10 or 11 PC. Before you connect to your VPN service, you need to add and create a new VPN profile on your computer first.
1. Create a VPN Profile in Windows Computer
- On your Windows 10 PC, click the Start button.
- Select Settings.
- Navigate to Network & Internet.
- Select VPN.
- Click Add a VPN connection.
- Under VPN provider, select Windows (built-in).
- Go to the Connection name and enter your desired VPN name.
- Look for the Server name or address and enter the address for the VPN server.
- Navigate to VPN Type and select the VPN you want to create.
- Now, go to Type of sign-in info. You can choose how you want to sign in to your VPN.
- Once done, click Save.
- If you use Windows 11 PC, you can follow the same process above.
2. Connect to a VPN Service on Windows 10 or 11 PC
When you already have a VPN profile, you can connect to it at any time. If you need to edit the settings, go to your VPN connection and click Advanced options to access the VPN profile information.
- If you are using Windows 10 PC, go to your taskbar.
- Click the Network icon.
- Choose the VPN server that you want to use.
- Click Connect.
- Enter your sign-in data.
- On your Windows 11 PC, navigate to the Settings menu.
- Select Network & Internet.
- Click VPN.
- Look for your VPN server.
- Click the Connect button next to it.
- Enter your sign-in information.
Wrapping Up!
That’s it! Now, you can feel safer knowing that your browsing activity is private even when using a public Internet network connection. When choosing a VPN provider, make sure you select a reliable name that you can use always.
How is your experience using a VPN service on your Windows 10 or 11 PC? You can share your story with us below.