
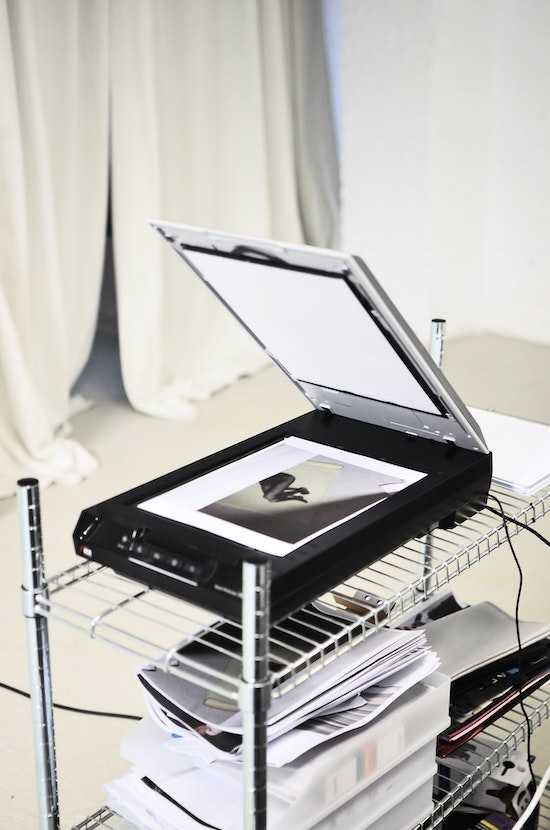
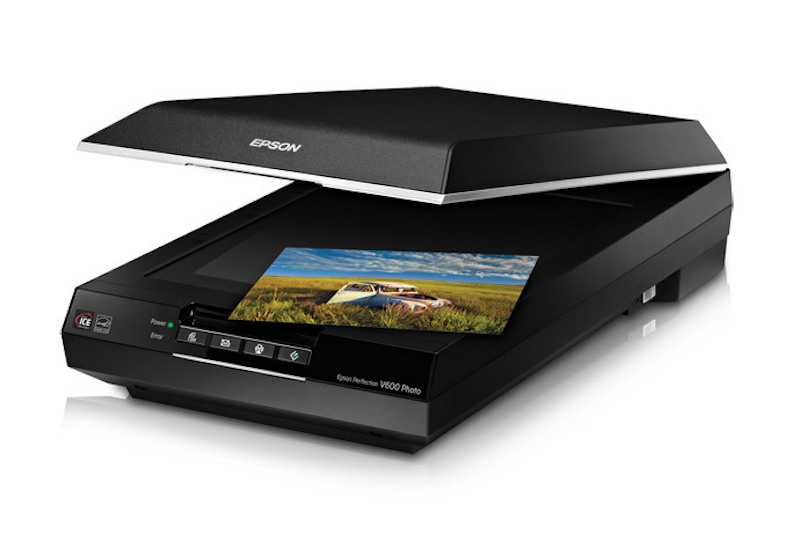
Epson scanners are widely used for their reliability and efficiency. However, like any electronic device, your Epson scanner may encounter errors that can disrupt your scanning workflow.
Three common errors faced by Epson scanner users are e425-b301, e581-b319, and e425-b100. Today’s post will provide you detailed steps to help you troubleshoot and resolve these errors, ensuring smooth scanning operations.
Understanding the Epson Scanner Error e425-b301, e581-b319 or e425-b100
Error E425-B301 – This error occurs when there is a communication problem between the computer and the scanner. Outdated drivers, incorrect scanner settings, or faulty USB connections can cause it.
Error E581-B319 – This error usually indicates a problem with the scanner’s lamp. It may occur due to a malfunctioning scanner lamp or a loose connection.
Error E425-B100 – This error typically occurs when the scanner’s internal hardware encounters an issue. A faulty motor, damaged cables, or other hardware-related problems could cause it.
Practical Solutions to Help You Resolve the Epson Scanner Error E425-B301
Follow the steps below to troubleshoot and fix the Epson scanner errors:
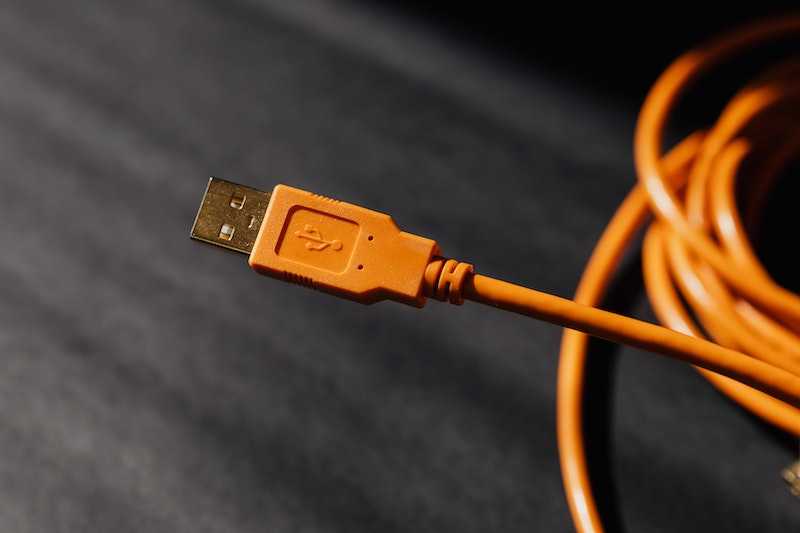
Step 1: Check the USB connection
- Ensure the USB cable is securely connected to the scanner and the computer.
- If using a USB hub, connect the scanner directly to the computer to eliminate any potential hub-related issues.
Step 2: Update the scanner driver
- Visit the Epson website and download the latest driver for your scanner model.
- Install the driver following the on-screen instructions.
Step 3: Verify scanner settings
- Open the Epson scanner software on your computer.
- Check that the scanner is selected as the default scanning device.
- Ensure the correct scanning settings, such as resolution and color mode, are chosen.
Step 4: Restart the scanner and the computer
- Turn off the scanner and unplug it from the power source.
- Restart your computer.
- Plug the scanner back in and turn it on.
Step 5: Test the scanner
- Launch the scanning software and try scanning a document to see if the error persists.
- If the error reoccurs, proceed to the next troubleshooting step.
Troubleshooting Epson Scanner E581-B319
Step 1: Check the scanner lamp
- Ensure the scanner lamp is connected correctly and securely attached.
- If the lamp appears damaged or burnt out, consider replacing it.
Step 2: Clean the scanner glass
- Turn off the scanner and unplug it from the power source.
- Clean the scanner glass with a lint-free cloth slightly dampened with glass cleaner.
- Gently wipe the glass surface to remove any smudges, dirt, or debris.
- Plug the scanner back in and turn it on.
Step 3: Test the scanner
- Open the scanning software and attempt to scan a document to see if the error has been resolved.
- If the error persists, proceed to the next troubleshooting step.
Resolve Epson Scanner E425-B100
Step 1: Check internal connections
- Turn off the scanner and unplug it from the power source.
- Open the scanner cover and carefully inspect the internal connections.
- Ensure all cables are securely connected and not damaged.
Step 2: Reset the scanner
Locate the reset button or switch on the scanner. It is typically found on the back.
Or underside:
- Press and hold the reset button for a few seconds.
- Plug the scanner back in and turn it on.
Step 3: Test the scanner
- Launch the scanning software and attempt to scan a document to see if the error has been resolved.
- If the error persists, it is advisable to contact Epson support or consult a qualified technician for further assistance.
Conclusion
Following the troubleshooting steps outlined above, you can effectively address the Epson scanner errors e425-b301, e581-b319, and e425-b100. If the problem persists, seek professional assistance from Epson support or a qualified technician.