
Sending several emails can be quite strenuous if you have to type the full email address of your recipient every time. If you come across a person with a lengthy email address or an unusual username, it may add to the overall challenge.
Good thing Microsoft Outlook 365 offers the Autocomplete feature that will automatically complete and fill out the contact list for you. For instance, you need to enter an email address into the To field in your Outlook. The Autocomplete or autofill feature will suggest and populate email addresses from your contact list as you gradually type the letters.

Unfortunately, there seems to be a problem with the Auto-complete feature not working properly according to many users. The function is not populating receipient’s list for them.
How to Fix Autocomplete Feature Not Working or Populating Recipients in Microsoft Outlook 365
You can try to resolve the Autocomplete not working correctly or messed up issue on your Outlook by following the methods below.
#1 – Check if the Autocomplete Feature on your Outlook is On
- On your Outlook, go to the File menu.
- Select Options.
- Navigate to the Mail tab.
- Go to Send Messages.
- Look for the Use Auto-Complete List to suggest names when typing in the To, Cc, and Bcc lines option. Make sure it has a checkmark in the box. If not, tick the box. If yes, uncheck the box and tick it again.
- Click OK.
- Restart your Outlook.
#2 – Disable Outlook Add-ins
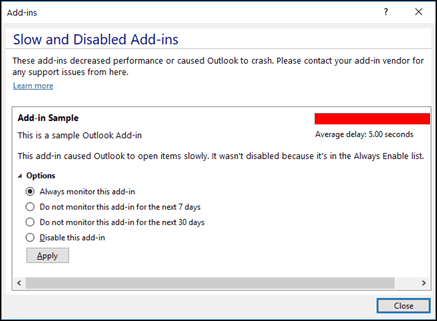
- Click the File menu of your Outlook.
- Go to Options.
- Select Add-ins.
- At the bottom, head over to Manage and select COM Add-ins from the drop-down menu.
- Click the Go button.
- Uncheck the boxes next to the add-ins.
- Click OK.
#3 – Change the Folder Name RoamCache
- If you are using a Microsoft Exchange account, navigate to the File menu of your Outlook.
- Go to Info.
- Select Account Settings.
- Click on your Microsoft Exchange account.
- Click the Change button.
- Navigate to the Advanced tab.
- Look for the Use Cached Exchange Mode option and disable it.
- Click OK.
- Exit Outlook.
- Launch the Run dialog box.
- Enter the following: %LOCALAPPDATA%\Microsoft\Outlook.
- Look for the RoamCache and right-click it.
- Select Rename and enter old_RoamCache.
- Restart your Outlook.
- Open again the Account Settings and select your Microsoft Exchange account.
- Click Change.
- On the Advanced tab, check the box next to Use Cached Exchange Mode.
- Click Apply.
- Click OK.
#4 – Launch Outlook in Safe Mode
- Open the Run Dialog Box.
- Enter the following: outlook.exe /safe.
- Now, try to test if the Autocomplete feature works okay.
#5 – Update your Outlook
- Click the File menu.
- Go to Account.
- Select Update Options.
- Click Update Now.
- Restart your Outlook.
Do you have other methods that can fix the Outlook autofill tool error for email addresses? You can share them in the comment section below.