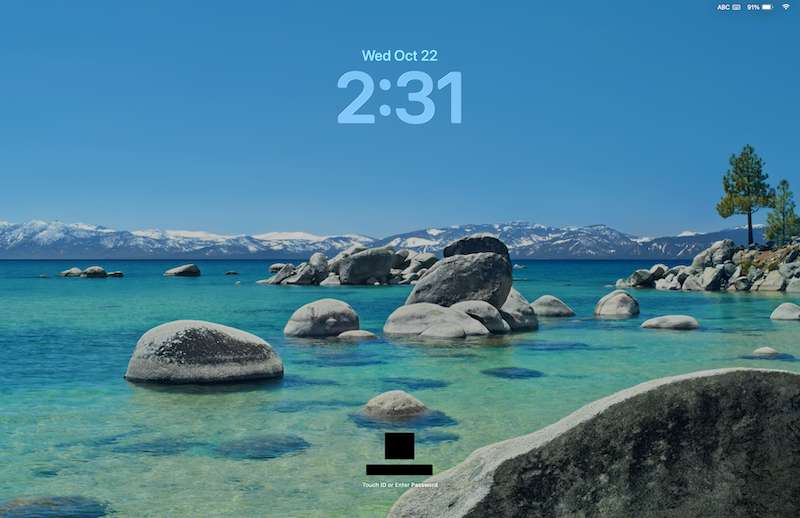
Let’s talk about the recent macOS Tahoe update. Many users are looking forward to the Liquid Glass effect to penetrate their MacBook devices and the results are exciting. On top of the fresh look on their MacBook devices, there are productive features that can make your macOS navigation more pristine.
Still, some flaws are never left unnoticed, especially if it tends to leave your device sleeping for so long. Their MacBooks not waking up became a sensational error to a lot of users, leaving them frustrated with the recent update. To put it simply, several devices are not waking up from Sleep mode after users updated them to macOS Tahoe.
How do you get out of this issue on macOS 26? Let’s check out some possible solutions.
Tips to Help Deal with Mac Screen Won’t Wake Up from Sleep Issue After Upgrading to macOS Tahoe

Do note that glitches on updates may be due to different reasons. Oftentimes, Apple will release updates to fix the current problems. But, you can also try the following solutions if you want to attempt fixing the issue.
Force your MacBook to Wake Up
If your device is not waking up, you may want to force it. To do so, close your MacBook completely for a few seconds. Then, open it and press the power button once. If it does not wake up, try to charge it and press the power button again for a few seconds.
Reset the Sleep Settings
When you are able to open your MacBook, you can try to reset the Sleep settings. Launch the Terminal and enter the following commands:
sudo pmset -a disablesleep 0
sudo pmset -a sleep 5
sudo pmset -a lidwake 0
sudo killall -9 powerd
sleep 3
sudo pmset sleepnow
You can also try this set of commands:
sudo pmset -a disablesleep 1
sudo pmset -a disablesleep 0
Now, restart your MacBook device.
Reinstalling macOS Tahoe 26.0.1
Maybe you can try to reinstall the Tahoe update. Here’s how you can do it.
Always back up your macBook first. Now, turn off your device and press and hold the power button until you see the loading startup options. Release the power button.
Select Options and click the Continue button. Choose your startup disk if asked. Select a user and enter the password. Your MacBook will start from macOS Recovery.
Click Reinstall macOS Tahoe and click the Continue button. Follow the instructions on your device until the installation is complete. Make sure not to close the lid or put your Mac to sleep while the process is ongoing.
Wrapping Up!
It is indeed disappointing to encounter errors whenever you want to upgrade your device. Hopefully one of the solutions above helps you!
