
Whenever you want to customize your Windows OS, you can do so via the Settings app. You can change the languages, add security, improve privacy, or do just about anything that you want to change with the current settings of your PC.
However, there are instances when the only resort to fix bugs and issues on your computer is to reset the Settings app. It should not be your first solution whenever you encounter errors on your PC. But, if nothing works, you can try it.
Resetting the Settings app means that you will bring the settings of your OS back to its default. It deletes the customization you made on your PC, which may sometimes be the cause of the problems in your computer.
How to Reset the Settings App on your Windows 10 Computer
If you have not upgraded your PC and remained in Windows 10, there are several ways to reset the Settings app. Let’s check the methods below.
#1 – Reset the Settings App via PowerShell
- On the Search menu, enter PowerShell.
- Right-click PowerShell on the Search results and select Run as administrator.
- Click Yes.
- Enter the following command: Get-AppxPackage windows.immersivecontrolpanel | Reset-AppxPackage.
#2 – Reset the Settings App via Start Menu
- Click the Start button.
- Look for the Settings option and right-click on it. You can also use the search bar to find the Settings.
- Select App Settings.
- Click the Reset button.
- Click Reset.
#3 – Reset the Settings App via Command Prompt
- Search for Command Prompt and select Run it as administrator.
- Click Yes.
- Enter the following command: PowerShell -ExecutionPolicy Unrestricted -Command “& {$manifest = (Get-AppxPackage immersivecontrolpanel).InstallLocation + ‘\AppxManifest.xml’ ; Add-AppxPackage -DisableDevelopmentMode -Register $manifest}”
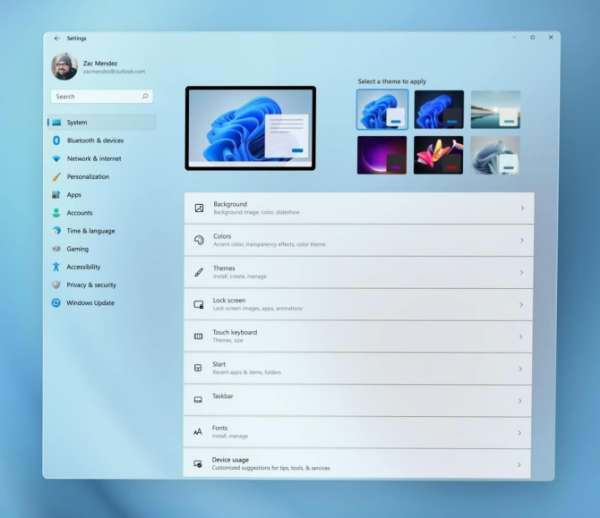
How to Reset the Settings App on a Windows 11 PC
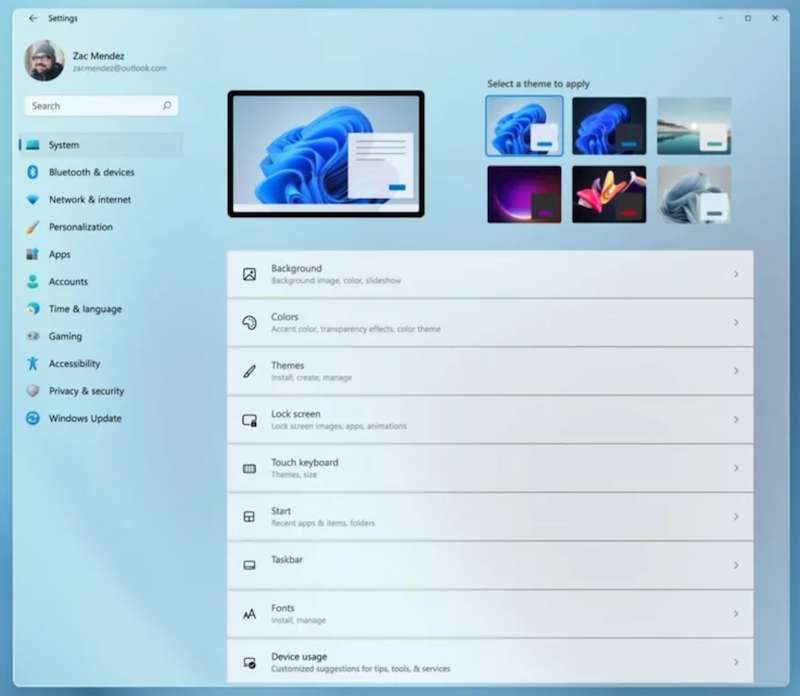
If you are currently using a Windows 11 PC, you can reset the Settings app by following the methods below.
Method #1 – Reset the Settings App via Start Menu
- Click the Start menu.
- Right-click on the Settings app.
- Select App Settings.
- Click the Reset button.
- Click Reset again.
Method #2 – Reset the Settings App via PowerShell
- Search for PowerShell and right-click on the search results.
- Select Run as administrator.
- Click Yes.
- Enter the following command: Get-AppxPackage windows.immersivecontrolpanel | Reset-AppxPackage.
That’s it! Whether you use Windows 10 or 11 PC, you can reset the Settings app anytime you want. What do you think of the methods above? Which one works for you best? You can share your thoughts with us below.