
There are different keyboard layouts that you can use on your new Microsoft Windows 11 PC. Not everyone follows the same standard input layout when using their computer keyboard, so it is best to set up what will make you feel more comfortable and productive.
On your Windows 11 computer, you have the option to change your keyboard layout to a different one. You can also manage your settings to add or remove them at any time you want. For instance, you have a loved one who is typing left-handed and shares the same PC with you. You can add a keyboard layout that is ideal for left-handed users. You can also switch to a layout that suits the language you are currently using.
How to Change or Switch Keyboard Layout on Windows 11 Computer

If you want to change the current Microsoft keyboard layout that you are using on a computer with Windows 11 operating system, follow the steps below.
- There are hotkeys that you can use to let you change your keyboard layout immediately. Press the Windows key + Spacebar or Shift + Alt Key.
- Another way is to go to the Taskbar and click the name of the keyboard layout you are using.
- From there, you can switch to a different one.
- Lastly, you can navigate to the Keyboard layout window by launching the Quick Settings panel.
How to Add and Manage Keyboard Layout in Windows 11 PC
If the keyboard layout you want does not appear on the menu, you can add one. Here’s how to do it on Windows 11 OS.
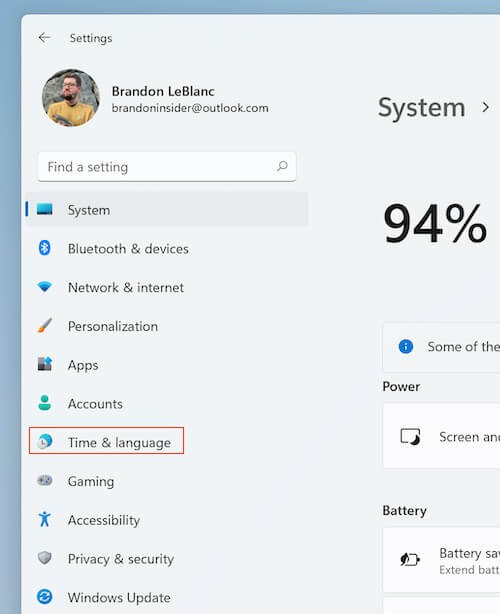
- Launch the Settings menu of your Windows 11 PC.
- On the left side, select Time & language.
- Go to the right side and click Language & region.
- Go to the Language section.
- Select Add a language.
- Enter the language that you want to add.
- Select the keyboard layout that you are looking for.
- Click Next.
- Select Install.
- Now that a new language is on the menu, you can add the keyboard layout to appear on the system tray.
- Navigate to the Language section.
- Click the three-dotted icon.
- Select Language options.
- Go to the Keyboards section.
- Click Add a keyboard.
- Choose your desired keyboard layout.
How to Remove a Microsoft Keyboard Layout in Windows 11
- Navigate to the Language section by following the steps above.
- Click the three-dotted icon.
- Select Language options.
- Scroll down to the Keyboards section.
- Select the keyboard layout that you want to remove.
- Click the three-dotted icon next to it.
- Select Remove.
What keyboard layout do you prefer to use on your Windows 11 PC? You can share your story with us in the comment section below.