
Experiencing trouble while adding your Chase credit or debit card to Google Pay or Google Wallet can be a real hassle, especially when you’re greeted with a “Contact your Bank” error.
It disrupts the ease and convenience digital payments are supposed to offer.

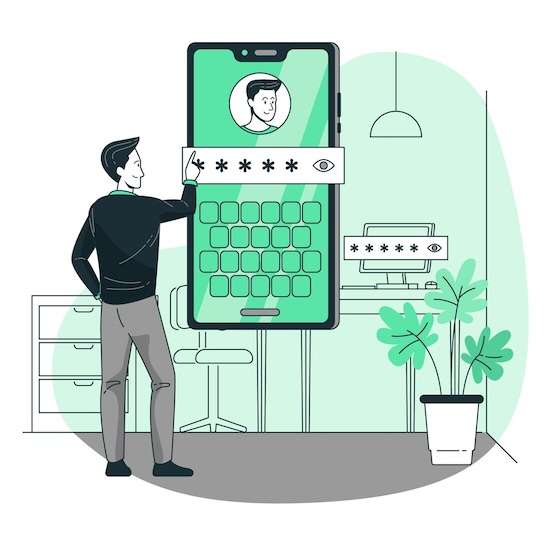
Possible Ways to Fix Contact your Bank Error on Google Pay & Google Wallet When Adding Chase Cards
Rest assured that even though this problem may be menacing, it’s not very difficult to fix.
Solution #1 – Verifying Card Compatibility
Before diving into more complex solutions, it’s crucial to check if Google Pay supports your Chase card. Not all cards are created equal in the eyes of digital wallets. It’s like having the right key for the right lock – if your card isn’t supported, no amount of troubleshooting will open the door to Google Pay.
Next, confirm the type of card you have. Google Pay typically plays well with Visa, MasterCard, and similar major players. If your Chase card falls under these categories, you’re on the right track. But remember, just because your card has a familiar logo doesn’t automatically guarantee compatibility. It’s always a good idea to double-check.
If your Chase card isn’t supported, don’t lose hope. Sometimes a quick call to Chase or a check on their website can clarify if there are any workarounds or updates that might bring your card into the Google Pay fold.
Solution #2 – Correct Google Pay Account Usage
It’s surprisingly easy to mix up multiple Google Pay accounts, especially if you manage finances for both personal and business purposes. To get your Chase card working, make sure it’s associated with the correct account. Think of it like sending a letter – if the address doesn’t match, it won’t reach the right destination.
If you have more than one Google Pay account, take a moment to switch between them and check which one you’ve linked your Chase card to. This step is like detective work – sometimes, the culprit is hiding in plain sight. Don’t forget each Google Pay account is unique and may have different cards linked.
Solution #3 – Update and Reinstall Google Pay

Ensuring that you’re using the latest version of Google Pay is a crucial step. Outdated apps can lead to all sorts of glitches and errors. It’s like trying to run a new software on an old computer – it just doesn’t work as smoothly. So, head over to your app store and check for any available updates for Google Pay.
If updating doesn’t do the trick, consider uninstalling and then reinstalling the app. This is a bit like giving your digital wallet a fresh start. Here’s how you can do it:
- Go to your device’s settings and find the ‘Apps’ or ‘Application Manager.’
- Scroll down to find Google Pay, then tap on it.
- Choose ‘Uninstall’ and confirm your choice.
- Once uninstalled, head back to your app store.
- Search for Google Pay and hit the ‘Install’ button.
- After reinstalling, open Google Pay and sign in with your account details.
Sometimes, the simple act of reinstalling can iron out any hidden bugs or issues. This is a standard procedure you should do when any app doesn’t work properly.
Solution #4 – Clearing Google Pay Data
Clearing the data from your Google Pay app is like a reset button for the app. It can resolve issues that are not fixed by simpler methods. However, it’s important to know that this action will erase all the payment methods and cards you’ve added to the app.
- To clear the data, you need to navigate to the settings on your phone.
- Find the ‘Apps’ or ‘Application Manager’, and then scroll to find Google Pay.
- Inside the Google Pay settings, look for an option that says ‘Storage’, and then you’ll see an option to ‘Clear Data’.
- Confirm your choice to complete the process.
- Keep in mind once you clear the data, you’ll need to re-add all your cards and payment methods.
It’s a bit like packing up your wallet again after it’s been emptied. Ensure you have all your card details handy to re-enter them into the app.
Solution #5 – Resolving ‘Card Already Added’ Error
Sometimes Google Pay might tell you that your card is already added, even when you’re trying to add it for the first time. This can happen due to a minor glitch in the system.
To solve this, you’ll need to remove the card and then add it again. Here’s how you do it:
- Open Google Pay and go to the ‘Payment Methods’ section.
- Find the card that’s causing the issue and select it.
- There should be an option to remove the card; tap it.
- Once the card is removed, add it back by choosing ‘Add Card’.
- Enter your card details again and follow the prompts to complete the process.
By removing and re-adding the card, you’re essentially refreshing its status in the system. This often clears up any minor confusions the app might have.
Solution #6 – Checking Device Compatibility
Making sure your device is compatible with Google Pay is a key step. Google Pay needs certain features to work, mainly NFC (Near Field Communication) technology and sometimes a fingerprint scanner. It’s like needing the right ingredients for a recipe; without them, things just won’t work.
If you’re not sure whether your device has NFC, you can usually find this information in the settings under ‘Connections’ or ‘Wireless & Networks’. For a fingerprint scanner, it’s typically listed under security settings. If your device lacks these features, it’s like trying to tune into a radio station without an antenna – you’re not going to get the signal.
In case your device doesn’t meet these requirements, don’t worry; you still have options. Consider using another device that’s compatible, or explore alternative payment methods.
Solution #7 – Resolving Bank Server Unavailability
Sometimes, you might face a hiccup where Google Pay indicates the bank server is unavailable. This can happen if there’s an issue with your banking information not syncing correctly with Google Pay. It’s important to ensure that all your banking details are up to date.
- Start by logging into your bank’s website or mobile app. Here, check all your details like phone numbers, addresses, and other account information. Update any outdated information. This step is crucial because any mismatch can lead to connectivity issues with Google Pay.
- Next, open Google Pay and navigate to the settings. Here, you’ll find options to link and manage your bank accounts. This is where you can double-check if your account is correctly linked.
Solution #8 – Handling PIN Verification Issues
When entering your PIN in Google Pay, it’s crucial to be precise. Ensure that you’re entering the correct numbers without any typos. It’s easy to mistype, especially on small phone screens. Take your time and double-check what you’ve entered before confirming.
A simple phone restart can sometimes work wonders if you’re confident that you’re entering the correct PIN but still facing issues. Restarting your phone can clear out temporary glitches that might be causing the problem.
Conclusion
Dealing with the “Contact your Bank” error while adding your Chase card to Google Pay or Google Wallet can indeed be frustrating. However, it’s important to remember that these problems, though they may seem like a pain in the neck, are usually fixable.
Keep a cool head and methodically work through each solution presented here – one of them will likely be the key to resolving your issue.