
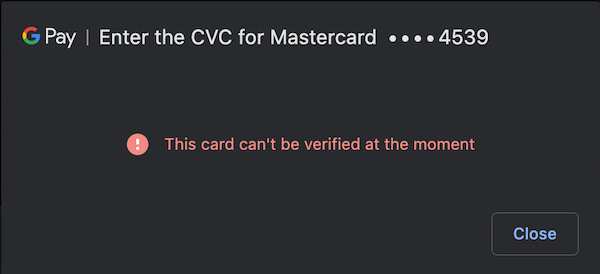
Do you keep seeing the ‘Enter the CVC for Mastercard or Visa… This card can’t be verified at the moment’ or ‘This card can’t be verified right now’ error message when trying to autofill payment info with Google Pay?
This frustrating glitch prevents your stored payment methods from automatically populating at checkout wether you’re a Mastercard or Visa cardholder. But don’t worry – you can fix it easily and get Google Pay autofilling smoothly again.
First, Why Is This Happening?
The error usually appears when there’s a disconnect between your payment info, Google account, and the app/site you’re shopping on. Resetting the connections between these elements typically resolves the issue.
Follow the simple troubleshooting steps below to get rid of the verification error and restore autofill feature with Google Pay. No complex tech knowledge needed!
How to Troubleshoot and Fix Google Pay Autofill This Card Can’t be Verified at the Moment Error Message
Step 1: Remove and Re-add Your Payment Method
Open the Google Pay app and go to Payment methods. Find the card causing errors and select Remove.
After deleting the problematic payment method, add it again by tapping +. Re-enter the card details carefully.
This refreshes your connection to that payment account.
Step 2: Update the Google Pay App
On your phone, open the Play Store. Search for the Google Pay app. Check that you have the latest version installed and update if needed.
The most current app version helps ensure seamless integration with payment platforms.
Step 3: Make Sure Your Apps are Up-to-Date
The app or website you’re shopping on also needs to be updated. Open the Play Store and check for any available updates.
Upgrade to the newest versions of your favorite shopping apps. This improves compatibility with Google Pay.
Step 4: Try Autofilling Your Payment Method
Find an app or website that supports Google Pay autofill. Add an item to your cart and begin checkout.
When prompted to enter payment details, choose Autofill with Google Pay. The card should now populate automatically!
Still Not Working? Contact Google Pay Support
If you still see verification errors after the steps above, contacting Google Pay support directly can help.
In the Pay app, go to Settings > Get support. Explain the persistent autofill issue.
The Google Pay team can provide personalized troubleshooting to get autofill functioning again.
Bonus Tips in Dealing with Google Pay Autofill Issues
Beyond the troubleshooting above, a few more pointers can keep autofill working smoothly:
- Enable autofill permissions in your device settings
- Log out and into your Google account again
- Make sure your apps are from official app stores
- Check for connection issues on your device
- Try clearing the Google Pay app cache/data
Now, you should be able to fix the pesky ‘This card can’t be verified’ error and enjoy seamless autofill with Google Pay again!