
Have your emails gone missing and can’t be found in the Sent Items folder in your Outlook account? The issue can happen to anyone. Many users get surprised when their messages no longer appear or are not available in the Sent Items folder location. It can be troublesome if you need to retrieve emails sent to other people and you can’t find them, especially if these contacts are not sending any replies.
The emails not found or not showing up in your Sent Items folder issue may happen if your mails are too old. You may remember a message sent a few months or years ago. It is possible that retrieving it may be difficult. In some cases, you may have forgotten deleted items or removed them accidentally without your knowledge.
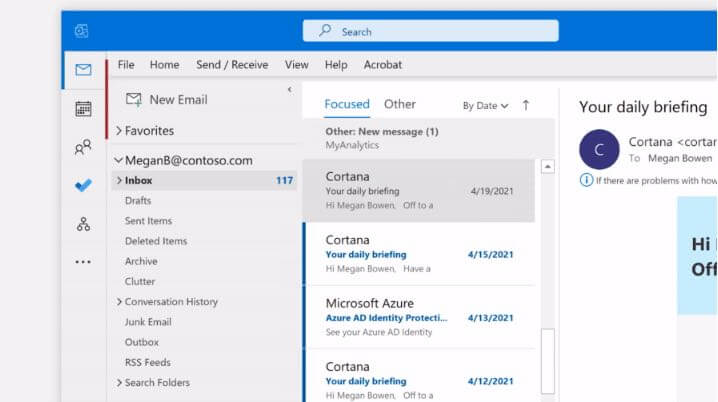
How to Troubleshoot, Restore Emails Not Showing Up or Missing in Outlook 365 Sent Items Folder
Fortunately, you can try to troubleshoot the mail problem with your Outlook 365 account and restore them by following the troubleshooting solutions and fixes below.
#1 – Check your Deleted Items or Trash Folder
Sometimes, we tend to forget deleted messages on our email. You may not see your sent emails, but maybe they are in your Deleted Items or Trash folder. Check the files and recover them.
#2 – Allow Save Copies of Sent Items in Outlook
- Launch the Control Panel.
- On the Search box, enter Group Policy.
- Select Group Policy Editor.
- Navigate to User Configurations.
- Select Administrative Templates.
- Choose Microsoft Outlook 2016.
- Click Outlook Options.
- Go to Preferences.
- Select Email Options.
- Choose Message Handling.
- Click the Enabled option.
- Look for the Save copies of messages in the Sent Items folder and check the box next to it.
- Click Apply.
- Click OK.
#3 – Turn Off Cached Mode in Outlook
- Open your Outlook and head over to the File tab.
- Select Account Settings.
- Choose Account Settings.
- Click the Account where you want to disable the Cached mode.
- Click Change.
- Look for the Use Cached Exchange Mode to download email to an Outlook data file option and uncheck the box next to it.
- Relaunch your Outlook application.
#4 – Edit the Settings on your Outlook
- On your Outlook, navigate to the File tab.
- Select Options.
- Choose Mail.
- Under Save messages, look for the option Save copies of messages in the Sent Items folder and check the box next to it.
- Click OK.
#5 – Remove Older Emails In your Sent Items Folder
- Go to the Sent Items folder and right-click on it.
- Select Properties.
- Navigate to the AutoArchive tab.
- Select Archive this folder using these settings.
- Set the number of days, weeks, or months you want to clean out older items.
- Click Permanently delete old items.
- Click Apply.
- Click OK.
Which of the solutions above work for you in resolving the Outlook 365 sent items folder problem? We love to hear your thoughts! You can write a comment below.