
When you are working from home or somewhere and need to constantly connect with your co-workers remotely, you can benefit from a reliable collaboration and communication tool such as MS Teams. It is easier to set tasks, discuss work assignments, and exchange files.
Microsoft Teams makes it convenient for its users to organize and manage files shared by each team. It has a dedicated Files tab that you can access if you want to see all the files in your team. You can open the files for editing and viewing.
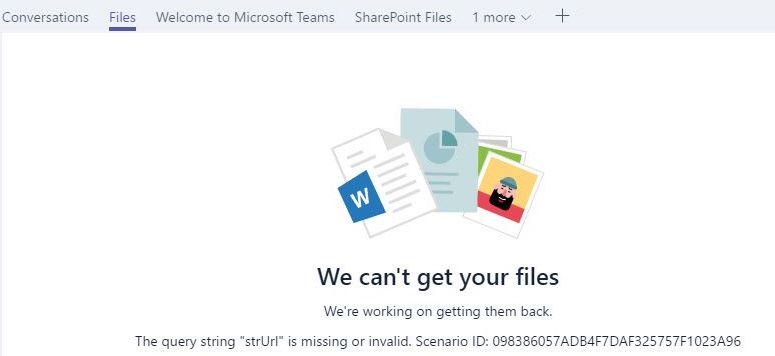
However, some users reported that their files do not appear in the Teams File Folder. If this situation also happened to you, check out the solutions below on how to fix it.
Troubleshooting Teams Files Are Not Showing in File Folder
#1 – Check Your Storage Space
Teams service has limits to its storage space. You can share up to 5000 items and anything beyond that will no longer appear in your File Folder. There is a total storage of 1 TB plus 10 GB per license purchased for every organization. The maximum storage per site is 25 TB.
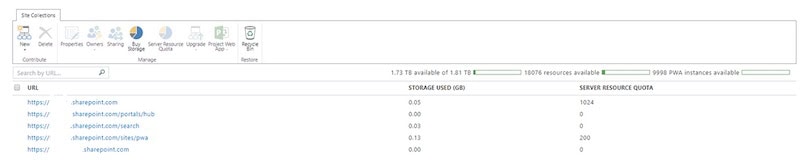
Check your storage space if you have already maxed out your limit. If you did, you might want to delete some files, or you can save them locally on your computer.
#2 – Move the Files in your SharePoint
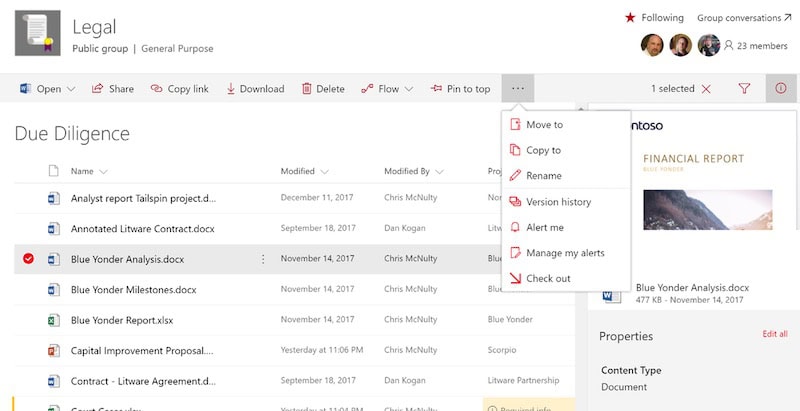
The transfer of files is supported by SharePoint in your Microsoft Teams. You can view the files through the different channels created on your SharePoint. Some of your team members cannot view the files because they are not part of the channel where the files have been shared. You may try to move the files to the channel where they can access and view it. Make sure that your files are not saved under Documents.
- To move the file, go to the Sharepoint site.
- Click the Documents tab and look for the channel where the file is located.
- Click the file to select.
- Now, click the More options button.
- Click Move to and choose the channel where you want to transfer the file.
#3 – Check If the Folder Name and Channel Matches
Each new channel in your Teams has a corresponding folder in Sharepoint. They have the same name, so if you edit the name of your channel without renaming the folder in your Sharepoint, it will make the files disappear from the Files Folder.
- Take note of the name of the channel in your account that has no files in it.
- Go to the Sharepoint website.
- Click the Team name where the channel is located.
- Click Documents.
- Look for the folder that has the same name. If it does not have the new name, rename the folder.
#4 – Give Your Team Member Permission
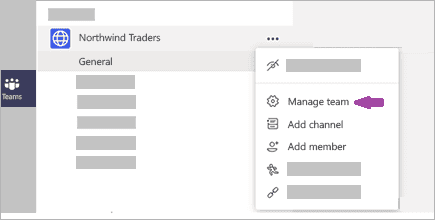
Your team members may not have access to your files hence they are not able to view it on their Files Folder. Make sure you grant them permission to view and edit the files. If you already sent out the permission, wait for Microsoft Teams to approve it and try viewing the files again.
Which of the solutions above worked for you? Tell us in the comments below.