
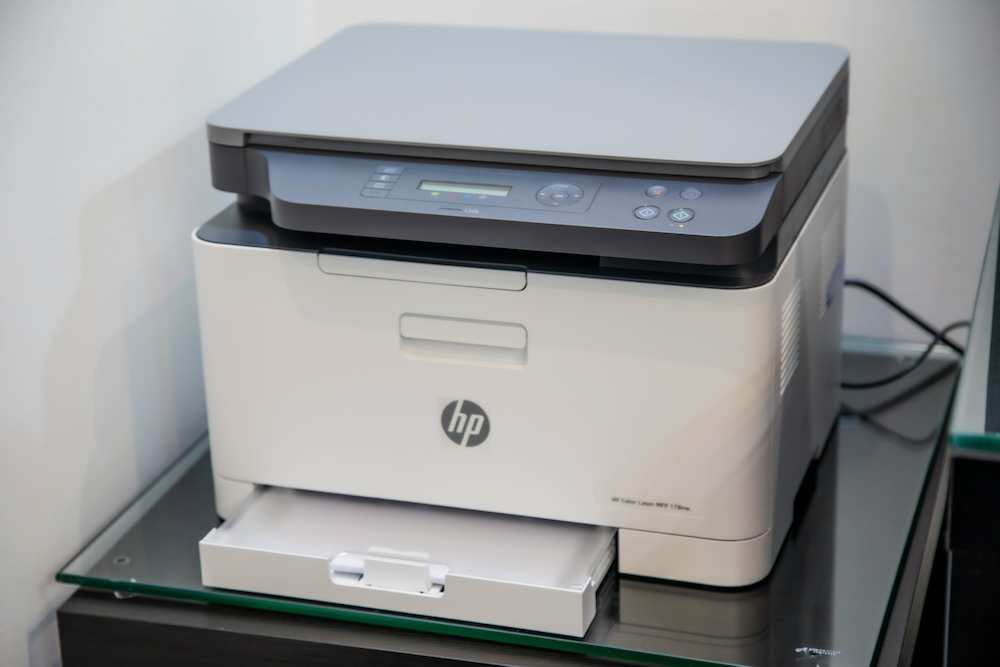
As an owner of an HP printer, encountering error codes can be quite frustrating. One common issue faced by many users is error code E1 or E2. However, fear not! I’ll guide you through a step-by-step process to fix these errors and ensure your printer returns to its optimal performance.
You see, error codes E1 and E2 generally occur when there is a paper jam or an issue with the printer’s print cartridge. These codes can halt your printing tasks and hinder your productivity. However, with a little patience and knowledge, these errors can easily be resolved.
How to Troubleshoot Printing Issue and Fix Error Code E1 or E2 on HP Printer Devices
Step 1: Check for Paper Jams
The first thing you should do when encountering error codes E1 or E2 is to check for any paper jams. Start by turning off your printer and unplugging it to avoid any potential harm. Next, gently open the access door or the paper jam door of your HP printer and inspect the internal components, especially the paper feeder area.
If you find any jammed paper, carefully remove it by pulling it in the direction of the paper path. Be cautious not to tear the paper while removing it. Once all visible paper jams have been cleared, close the access door securely.
Step 2: Reset and Restart Your HP Printer
After successfully removing any paper jams, it is recommended to reset your printer. To do this, disconnect the printer from the power source and wait for approximately 30 seconds. Then, reconnect it and turn it back on.
Now, try printing a test page to ensure the error codes have been resolved. If the error persists, proceed to the next step.
Step 3: Check the Print Cartridge
If the error codes E1 or E2 continue to appear, the issue might be related to the print cartridge. Open the printer cover and carefully remove the print cartridge from its housing. Inspect the cartridge for any visible damage or misplacement.
If you notice any issues, such as a dislodged print cartridge or damaged ink cartridges, gently reseat or replace the cartridges as necessary. Make sure they are securely placed in the designated slots.
Step 4: Clean the Printer Rollers
Sometimes, accumulated dust and debris on the printer rollers can lead to error codes E1 or E2. To clean the rollers, first, disconnect the power source and turn off your printer. Next, locate the rollers, which are usually at the back of the paper tray or inside the printer.
Using a lint-free cloth lightly dampened with distilled water, gently wipe the rollers. Ensure that the rollers are dry before reinserting the paper tray and turning the printer back on.
Takeaways
Facing error codes E1 or E2 on your HP printer can be troublesome, but by following the steps above, you can quickly resolve these issues, and your printer will be functioning smoothly again. Remember to check for paper jams, reset your printer, inspect and reseat the print cartridge, and clean the printer rollers regularly to avoid future errors.
If the error codes persist after following all the steps, it is recommended that HP customer support be contacted for further assistance.