
Zoom is a popular video conferencing platform. But, like any other application, it also has its share of errors and problems when using its services. If you have encountered the “Your Internet Connection is Unstable” error on Zoom, check out the solutions below to know how to fix it.
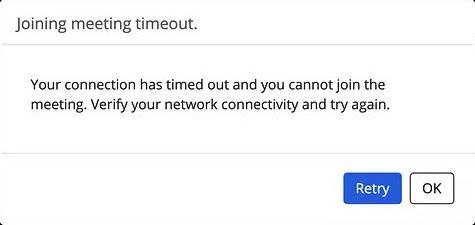
Fix “Your Internet Connection is Unstable” Error on Zoom
Solution #1 – Check Your Internet Connection
Do a speed test check to see if you have a stable Internet connection. Try browsing if you can open a video without any error. You can also improve your network connection by moving near your router or bypassing it to connect directly to your modem.
Solution #2 – Power Cycle Your Devices
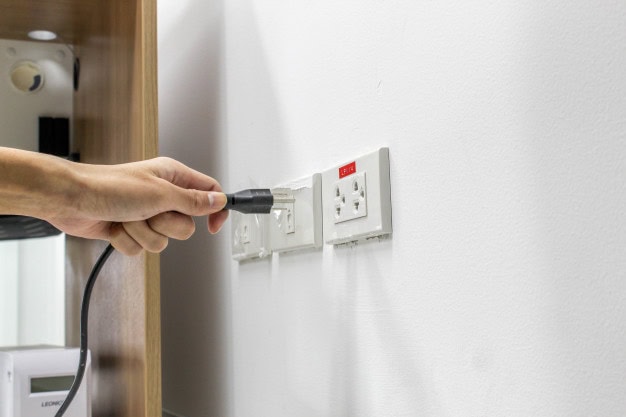
Doing so will refresh your Internet connection and will remove temporary files that may be causing the error.
- Turn off your device and unplug your router and modem.
- Wait for at least 1 minute.
- Plug your modem and wait for it to fully connect. Do the same with your router.
- Turn on your device and launch Zoom.
Solution #3 – Run the Network Troubleshooter
If you are using Windows 10 to access Zoom, you can always use the Network Troubleshooter to detect and fix any Internet connection problems. To do so, follow these steps:
- Click Start.
- Go to Settings.
- Click the Network & Internet.
- Click Status.
- Look for Change your network settings.
- Click Network troubleshooter.
- Follow the instructions and wait for the troubleshooter to fix the error.
- Once done, try to launch your Zoom app and check if the error is still there.
Solution #4 – Refresh Your IP Address
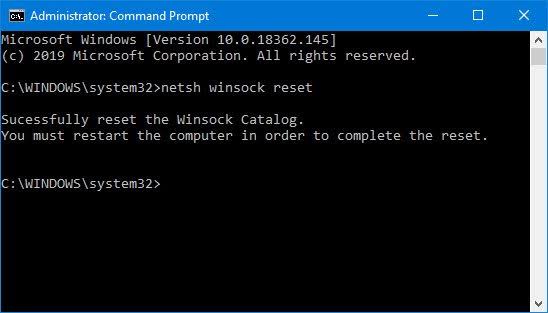
- Search for cmd and right-click on the Command Prompt result.
- Choose Run ad administrator.
- On the command prompt, type the following commands followed by an Enter for each:
netsh winsock reset
netsh int ip reset
ipconfig /release
ipconfig /renew
ipconfig /flushdns
- Restart your computer.
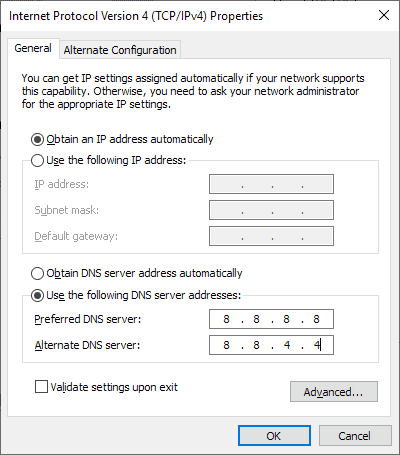
Solution #5 – Edit Your DNS Settings
- Navigate to Settings.
- Go to Network & Internet.
- Choose your network connection.
- Look for IP Settings
- Under the IP assignment, click Edit.
- Choose Manual for your IP settings. Click Save.
- Toggle the button to enable under IPv4 or IPv6, whichever you are using.
- Now, enter the DNS you want to use. You can use these three preferred and alternate DNS:
Cloudflare DNS: 1.1.1.1 and 1.0.0.1
Google Public DNS: 8.8.8.8 and 8.8.4.4
OpenDNS: 208.67.222.222 and 208.67.220.220
- Click Save and restart your computer.
Which of the solutions worked best for your Zoom connection issue? Let us know in the comments below.
Disable SIP ALG in router.