
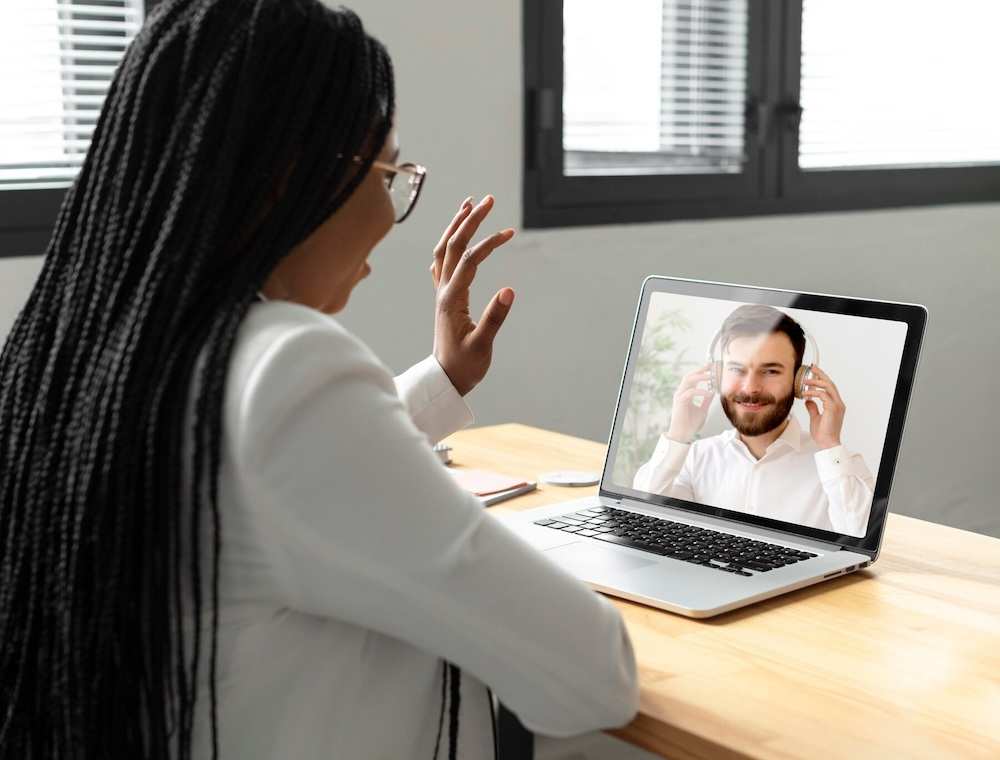
Google has a lot of great features in its apps and services. One is the ability to video chat with friends and family using Google Meet through Gmail or the standalone videoconferencing app.
It’s easy to use and works like most other video-calling apps. It only works when both parties use the same browser on their computer or mobile device.
If your PC camera isn’t working and Google Meet is showing you a “Camera failed” error, try the steps below!

How to Fix Google Meet Camera Failed or Computer Webcam Not Working Issue on Video Meetings
Find the troubleshooting steps we’ve listed below to help you fix the issue if you’re Google Meet camera or computer webcam fails to work during video calls and remote work meetings.
Check if the Camera is On
To begin, check that your camera is turned on by checking the top right corner of your screen. The green light indicates that it’s working properly. If you haven’t yet plugged in a USB cord or connected the camera to Wi-Fi, move on to step two.
Check the Camera Permission
A single, simple solution to enable camera access for Google Meet is to review your browser settings. If you see a red cross over the camera symbol, that means the application doesn’t have permission to access any communication devices.
- To fix this, simply click on the Camera/Microphone symbol,
- and select ‘Always allow’.
- By doing this, you can ensure that Google Meet can use your device’s camera properly.
Restart the Google Meet App
To restart the app, follow these steps:
- Step 1: Tap on the Google Meet icon from your home screen.
- Step 2: Once you have opened the app, tap on the three-dot menu icon to open up more options for you.
- Step 3: From there, select ‘Restart’. This will take a few minutes to complete and once it’s done restarting go back into your settings and see if everything works properly now!
Make Sure that the Camera is Plugged In
If your camera is plugged in and it’s still not working, it’s possible that the settings are preventing the app from being able to communicate with the camera.
- To fix this, open up the Google Meet app and go to Settings > Cameras.
- The first option on this screen is Enable Camera.
- If your camera is already enabled, but isn’t working for you (or if you’re having problems with multiple cameras), click Disable Camera next to each one of them until only one remains turned on.
- Then try starting a meeting again and see if things behave differently now that there are fewer cameras running at once!
If for some reason disabling all but one doesn’t work, try re-enabling each camera one by one until you find which specific camera isn’t working properly. This will help narrow down where exactly there may be an issue occurring within your system configuration or environment setup.
Other Workarounds for Google Meet Camera Issues

Additionally, make sure that any switches or power strips connected to these devices are turned on; if they’re not plugged into a USB hub or connected directly into a computer port—and instead have been connected through some other type of network hardware like Ethernet cables—make sure those connections haven’t been severed by accident either!
If all else fails, you may need to try a different browser. We recommend using Firefox or Safari, as they seem to have fewer issues with this problem.
You can also try running the Google Meet productivity app in Windows 7 compatibility mode, but be aware that this won’t work for everyone due to potential software incompatibilities between operating systems and browsers.