
One of the reasons why we feel secure connecting our PC to our home WiFi Internet network is our private network credentials. Only you have access to your home network, as well as, those to whom you gave permission or know your network credentials. Such information adds a layer of protection on your computer and network so that no unwanted entry can happen.
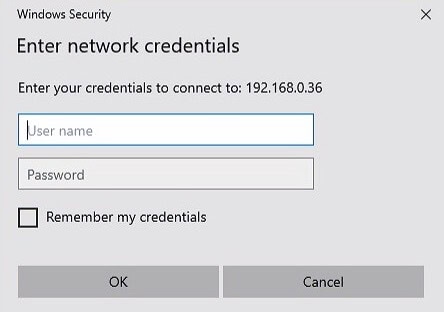
Unfortunately, many users complained that they cannot connect to their own Wi-Fi network due to an error message. They see a persistent “Enter network credentials” error message popping up always. When they try to fill in their username or password, their PC keeps showing, “The username or password is incorrect.” You may enter the correct username and password, but your PC shows the same error message.
How to Troubleshoot & Fix Enter Network Credentials Error Message that Keeps Popping up on Windows 10/11 Computer
You can try to troubleshoot and resolve the network credentials issues and stop your Windows computer from asking to enter your network credentials access by following the solutions below. There can be varying reasons why the error message pops up persistently on Windows 11 or 10 PC, but you can try to fix it.

Solution #1 – Login using your Microsoft Account Credentials
If you have Microsoft account credentials, you can use them to connect to your home network instead of your local username and password.
Solution #2 – Change the Advanced Sharing Settings
- Navigate to your taskbar and look for your network icon. Right-click it.
- Select Network and Internet Settings.
- Choose Network and Sharing Center.
- Head over to the Homegroup Connections section.
- Look for Allow Windows to Manage Homegroup Connections (recommended) and enable it.
- Click Save Changes.
- Go to the All Networks section and expand the menu.
- Look for Turn off Password Protected Sharing and enable it.
- Click Save Changes.
Solution #3 – Stop and Restart the Credential Manager Service
- Open the Run Dialog Box by pressing the Windows key + R.
- Enter services.msc.
- Look for the Credential Manager and right-click it.
- Select Properties.
- Go to the Service Status.
- Click the Stop button.
- Then, click the Start button after a few seconds.
- If the button is on Stop, just click the Start button.
Solution #4 – Make your Connections Private
- Click your Network icon on the taskbar.
- Select Network and Internet Settings.
- Select your Network.
- Choose the Adapter Properties.
- Go to the Network Profile Type.
- Set it to Private.
Solution #5 – Add Windows Credentials
- Click the Start button.
- On the Search bar, enter Credential Manager.
- Click Credential Manager.
- Go to Windows Credentials.
- Select Add a Windows Credential.
- Enter your username, computer name, and password.
Solution #6 – Change your User Accounts Settings
- Launch the Run Dialog Box and enter netplwiz.
- Look for Users Must Enter a Username and Password to Use this Computer and uncheck the box next to it.
- Click Apply.
- Click OK.
- Restart your computer.
Solution #7 – Edit your Security Policies
- Open the Run Dialog box and enter secpol.msc.
- On the left side, select Local Policies.
- Choose Security Options.
- Go to the right side and double-click Accounts: Limit Local Account Use of Blank Passwords to Console Logon Only.
- Select Disabled.
- Click Apply.
- Click OK.
Solution #8 – Change your IP address to Automatic
- Launch the Run Dialog Box.
- Enter ncpa.cpl.
- Look for your network connection and right-click it.
- Select Properties.
- Double-click Internet Protocol Version 4 (TCP/IPv4)
- Navigate to the General tab.
- Turn on Obtain an IP address automatically.
- Enable Obtain DNS Server Address Automatically.
- Click OK.
- Click OK again.
- Restart your PC.
Do you have other solutions to fix the network credentials error in Windows PC? You can share your methods with us in the comment section below.