
Missing apps tab in your Adobe Creative Cloud can prevent you from making a progress in using the application. Fonts are not synced and you will not be able to manage your Adobe apps.
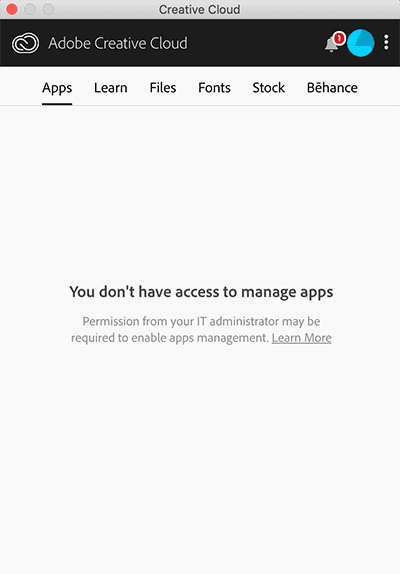
Oftentimes, the apps tab is missing if the update feature has been disabled or you there are new updates to your Creative Cloud. In some cases, your XML file may be corrupted or contains bad values thus failing to display the apps tab. Whatever the reason for the missing tab, you will need to restore it to continue working with your Creative Cloud properly.
How to Restore Apps Tab that Does Not Show Up in Adobe Creative Cloud Desktop App
Method 1 – Change the Config of your XML File
- Open the Creative Cloud desktop manager.
- Then, on the top right, click the gear to dropdown menu.
- Choose Preferences.
- Under the General tab, sign out.
- Then, go back to the dropdown menu from the gear and click Quit to exit the desktop manager.
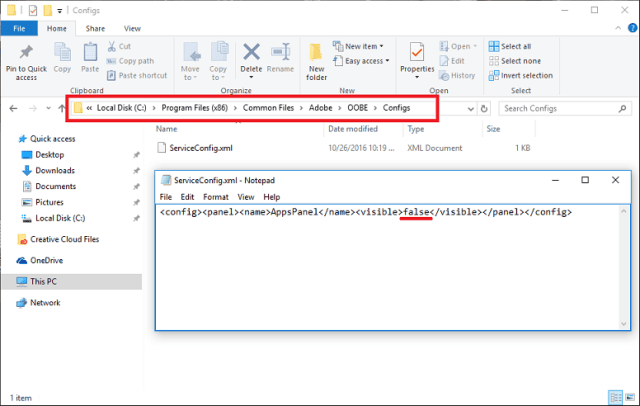
- You will need to go to the OOBE folder using this path: C:\Program Files (x86)\Common Files\Adobe\OOBE\Configs. Go to the File Explorer and copy paste the path.
- Look for the attached ServiceConfig.xml file
- Then, right click on the link and click Run as Administrator.
- Next, open the file and look for the word False. Change it to True and click save.
- Restart your computer and check if the apps tab is already available in your Creative Cloud App.
Method 2 – Replace the XML File
Even after you have edit the config of your XML file, you may still encounter the same problem. You can now try to replace the file completely.
- Open the file explorer and on the dialog box, type /Library/Application Support/Adobe/OOBE/Configs/ServiceConfig.xml.
- Locate the serviceconfig.xml file and copy and paste it to another accessible and safe location for back up. Keep in mind that you will need to delete the file so better to have a back up.
- Next, delete the file and exit the window.
- Restart your computer and open your Adobe Creative Cloud.
- It will then notify you that the file is missing. You can download a new copy from the Internet and try to replace the file on its previous location.
Method 3 – Reinstall Adobe Creative Cloud
- Open the application manager. You can also press Windows+R and type appwiz.cpl.
- Look for Adobe Creative Cloud in the application manager window. Once located, right click on it and choose Uninstall.
- Allow the process to finish. Once done, restart your computer.
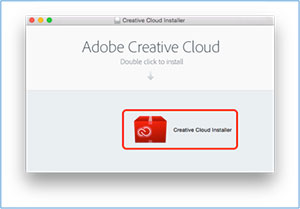
- Next, go to the official website of Adobe Creative Cloud and install the latest version.
- After the installation process is done, check if the apps tab is still missing or not.
Final Words
If you have done all the methods but still encounter the missing apps tab, you may want to contact Adobe Support to help you with your problem. Prepare your serial number and product key. Go to the official website of Adobe and select Support.
What do you think of the methods indicated above? Are they helpful?