
It is fun to change your Facebook profile picture once in a while. After snapping a few selfies, there are good photos worthy to be up on the pedestal – in the case of Facebook, profile-worthy!
But, if you want to express yourself for a short period of time without changing your current profile picture, you can do so! Facebook has a feature that will enable you to set up a temporary profile picture that disappears after a period of time.
It does not have to change your photo on your Facebook timeline. The idea is to edit it with expressions or designs that will tell what you are standing for today or what you are feeling. For instance, if you want to stand for saving climate change, you can add frames or filters on your profile picture that says about it.
Your edited profile picture does not have to live forever on your timeline profile! After a few days, weeks, or months, it will revert to your old profile picture and erasing the frames or your new photo.
How to Make a Temporary Profile Picture on Facebook
If you want to add and make a temporary profile picture on your Facebook, the steps are easy and exciting! You can choose from a variety of frames to decorate your profile photo.
- To start, launch your Facebook app or website.
- Login to your account.
- Click/Tap your profile picture.
- On the lower right of your picture, select the camera icon.
- You have two options to choose your photo. Choose from any of the suggested photos. Another is to upload your picture.
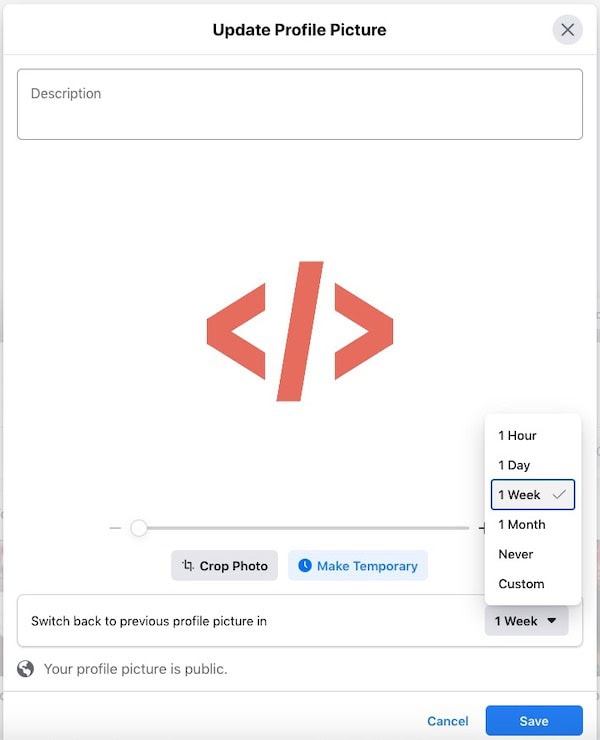
- After you have chosen your photo, crop it according to your preference. Select Make Temporary.
- Choose the length of time that you want your temporary photo to appear.
- Hit the Save button.
Adding Temporary Frames to Your Facebook Profile Picture

If you want to add frames to your Facebook profile photo, you can edit your existing picture or add it to the new image that you are uploading.
- Edit your profile picture by selecting the camera icon.
- Click/tap the Add Frame button.
- On the left side, scroll down and select your preferred frame.
- It will appear as a preview on the right side.
- After adding the frame, click/tap the drop-down menu beside the Switch back to previous profile picture in.
- You can choose 1 Hour, 1 Day, 1 Week, 1 Month, Never, or Custom.
- Once done, select the Use as Profile Picture button.
What frame design can best express yourself right now? We would love to know, so write to us below.