
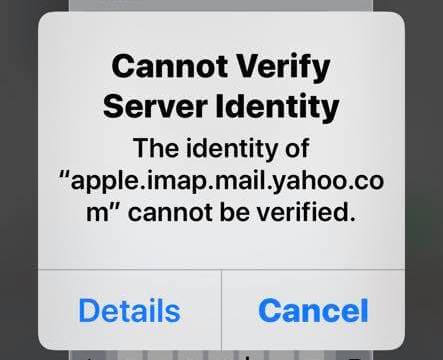
There are different ways for Apple to maintain privacy and safety when using your iPhone or iPad mobile device. One of these security processes is to verify the authenticity of your mail server’s SSL certificate. If it comes back unmatched or unreliable, it will trigger the error message, “Cannot Verify Server Identity.”
No doubt that it is annoying to see an issue when you just want to access your iOS Mail app. However, there may be factors that set your iOS phone or tablet to pop up the message and not let the process push through. It can be a problem with your mail server or an issue with your iOS mobile device.
Let’s focus more on how you can troubleshoot and effectively fix the problem with your iPhone or iPad for you to get back to your emails.
How to Resolve Cannot Verify Server Identity Error on iOS Mail App for iPhone or iPad
Since it is an issue with your Apple Mail app on your iOS device, you can try to exit the app first and relaunch it. Usually, there are connection and system problems that prevent you from accessing and using the app. Rebooting it sometimes help resolve the Cannot Verify Server Identity error instantaneously.
If a simple restart of your Mail app on iPhone or iPad does not work, try the other solutions below.
#1 – Power Cycle your Devices
If restarting the app does not work, try rebooting your iOS device, router, and modem. You can turn them off and wait for at least 1 minute to refresh the connection. Then, reconnect to the Internet and relaunch your Mail app.
#2 – Reset your Network Settings
- Launch the Settings menu of your iOS device.
- Access General.
- Select Reset option.
- Tap Reset network settings.
- Enter your passcode.
- Confirm the reset.
#3 – Disable Outlook Notifications on iOS Device
- Open your Outlook Mail Client on iPhone or iPad iOS device.
- Tap the Gear icon.
- Navigate to Settings.
- Go to Mail or Calendar.
- Look for Notifications.
- Turn off notifications.
- You may also access your iPhone or iPad Settings.
- Go to Notifications.
- Look for Outlook.
- Disable notifications.
#4 – Delete and Add your Email Account Again

It is like reinstalling a faulty app on your iPhone or iPad mobile device. You can remove the problematic email account and try to add it again.
- Launch the Settings menu.
- Select Accounts & Passwords.
- Go to Accounts.
- Select the faulty email account.
- At the bottom, tap Delete Account.
- Confirm your action by tapping Delete from My iPhone.
- After removing the email account, you can add it again.
- Navigate to the main Settings menu.
- Open Accounts & Passwords.
- Tap Add Account.
- Choose your mail provider.
- Enter your email account and information.
#5 – Update your iOS Device
- Open the Settings menu of your iPhone or iPad.
- Select General.
- Tap Software Update.
- Select Download and Install.
- Tap Install.
#6 – Contact your Email Provider Support
If none of the solutions worked for you, contact the Customer Support of your email service provider.
Which of the methods above helped you fix the mail server error on iOS Mail app for iPhone or iPad? We would love to know what works. You can drop us a comment below.