
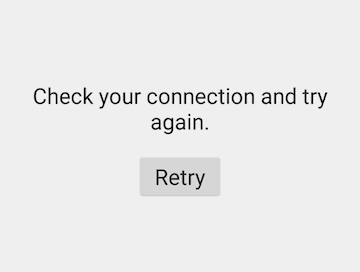
Launching Google Play Store to download apps on your Android phone may sometimes block users with errors. One perfect example is the “Check your connection and try again” error. It may seem like a problem with your Internet connection, but it may not always be the case.
Google Play Store offers thousands of apps that you can download on your mobile devices. If you want to get rid of the connection error, check out the solutions below.
Fixing Check Your Connection and Try Again Error in Google Play Store
There are different reasons why you encounter the “Check your connection and try again” Play Store error on your Android phone or tablet. You can try each method below one at a time and see if it works for you or not.
Solution #1 – Restart Your Device
An easy and often overlooked solution is to restart your mobile device. Close all apps and turn your phone off. Wait for a few seconds before turning it back on. Now, try launching Google Play Store again.
Solution #2 – Restart Your Router
It may be an issue with your network connection. To fix temporary issues, you need to restart your router and check again if the error still exists.
Solution #3 – Check Your Date and Time Settings
- On your Android phone or tablet, launch the Settings menu.
- Go to System.
- Tap Date & time.
- Google to on the options Use network-provided time and Use network-provided time zone.
- You may also try to correct the date and time based on your current time zone.
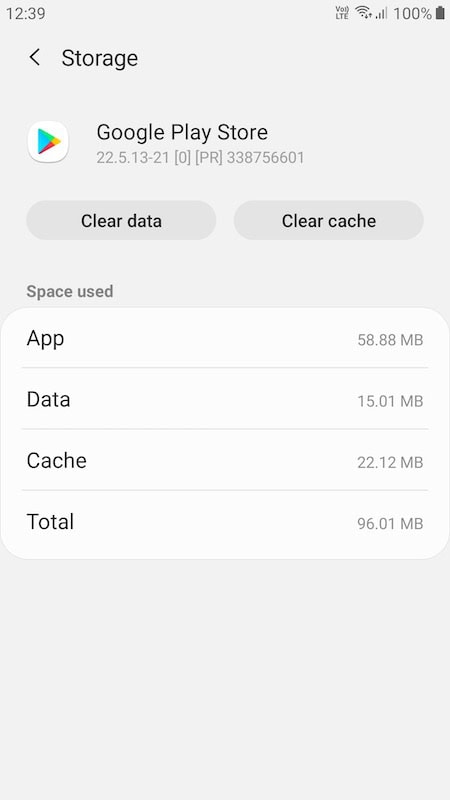
Solution #4 – Clear Cache on Google Play Store
- Open the Settings menu.
- Go to Apps or Apps & notification.
- Select Google Play Store.
- Go to Storage.
- Click Clear Cache.
Solution #5 – Change the DNS Setting
- Go to the Settings Menu.
- Tap Wireless & networks.
- Select WiFi.
- Select Your WiFi network to edit. You can either tap the cog icon or long-press your WiFi network.
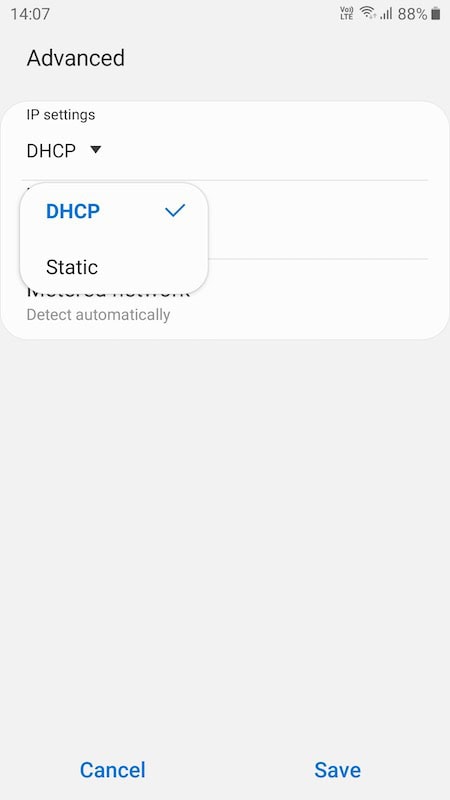
- Select Advanced options.
- Under the IP Settings, tap Static.
- In DNS 1, enter 8.8.8.8.
- In DNS 2, enter 8.8.4.4.
- Type your custom IP in the IP address.
- Tap Save.
Solution #6 – Disable Your VPN
If you are using a VPN service on your mobile phone, disable it first, and try launching Google Play Store.
Which of the solutions above work for you? Let us know in the comments below.