
Windows 10 users cannot install or update applications in the Windows Store or Microsoft Store. An error message 0x80070005 always greets them every time they try to install or update an app.
Technically, this error means that permissions are denied or access is denied for any reason. Given that, many other Windows programs and services may display this error if they determine that permissions are denied.
In this post we’ll focus only on this error with regard to application updates for Windows 8/8.1/10 where an app is not updated due to permission issues.
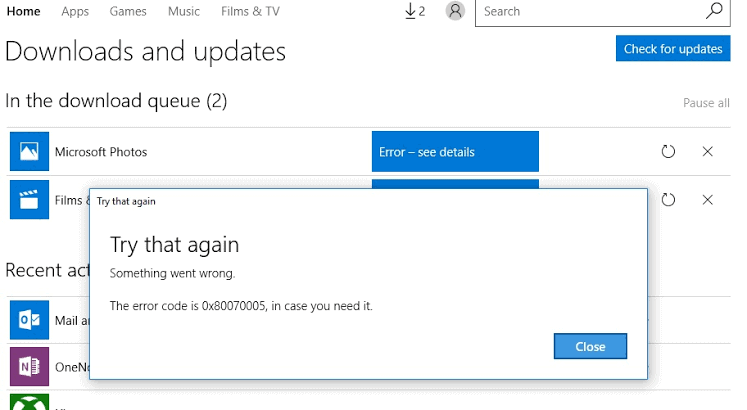
A complete error message that the user receives:
Something happened and this app couldn’t be installed” 0x80070005
Ways to Troubleshoot and Fix Microsoft Store 0x80070005 Error on Windows 10 PC
#1 – Disable Proxy
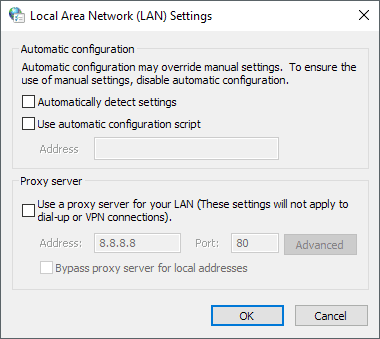
If you are using a proxy connection, try disabling the proxy connection and testing if it resolves the issue.
To disable the proxy connection, do the following:
- Click on Start, select Settings and navigate to Network & Internet > Proxy.
- Toggle the option Automatically detect settings to ON.
- Toggle the option Use a proxy server to OFF.
#2 – Resetting the Windows 10 Store Settings
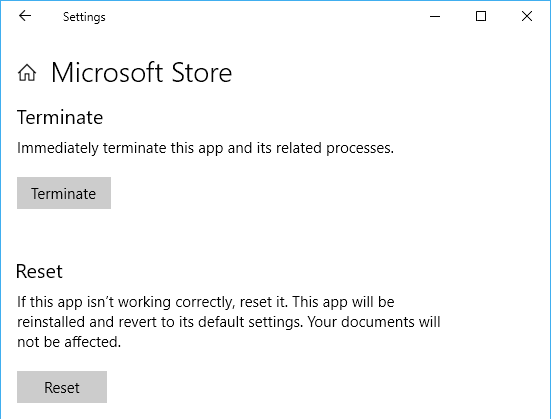
Another important method we will try with most of the problems with the Windows/Microsoft Store is to reset the Windows Store settings. Once the settings have been reset, it will return to its default settings. So if something goes wrong, everything will be fixed. Resetting the Windows 10 Store is very simple and requires only a few steps:
- Proceed to search, type WSReset
- Right-click and select Run as administrator.
- The Windows Store cache is now reset, which should help you solve this problem.
The tool should run for a few seconds and then a new command prompt should appear, which means that the tool has completed its execution. Once the reset is complete, the Windows Store may reopen.
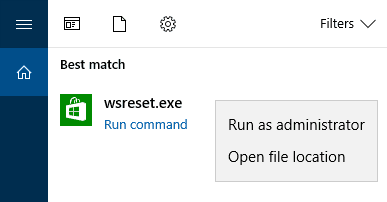
Wsreset.exe is a small but useful utility that has been present since Windows 8. It’s been able to reset and remove the Windows Store cache. It scans and empties local cache folders in the same way that Internet Explorer deletes temporary files. This utility can usually be found at C:\Windows\System32 if you want to run it from there.
#3 – Manually Clearing of Local Store Cache
In addition to running Wsreset, you might still need to clear the cache manually. Each user’s Appdata folder contains the LocalCache folder, which you can delete by following these steps.
- Make sure that the Windows Store is closed.
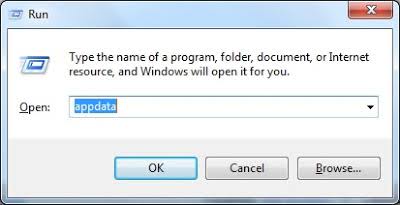
- Open the window with the Run command (Window + R key).
- Enter “%appdata%” and press Enter to open the AppData/Roaming File Explorer window, but we’d only need AppData/Local.
- Click on the AppData address bar to go one level higher.
- Go to Local -> Packages -> Microsoft.WindowsStore_[Unique Identifier] -> Local Cache
- Select and delete all contents of the LocalCache folder.
- Restart your computer
#4 – Correct the Permissions on Packages Folder
- Hold down the Windows key and press R.
- In the dialog box that appears, enter %appdata% and click OK.
- By default, this will take you to Appdata Roaming, but we must be in AppData Local, so click on AppData (Breadcrumb) at the top and select “AppData” and then Local.
- Search for the Packages folder in the local folder.
- Right-click on the packets and select Properties.
- Click the Security tab
- Now click the Advanced button and make sure that all users in the list have full control. Otherwise, click the Add button. Select Principal, enter the users in the “Enter the name of the object to be selected” field, then click Check Names and check the “Full Permission” checkbox.
- Click Apply/OK for full authorization.
#5 – Scan for Malware and Viruses
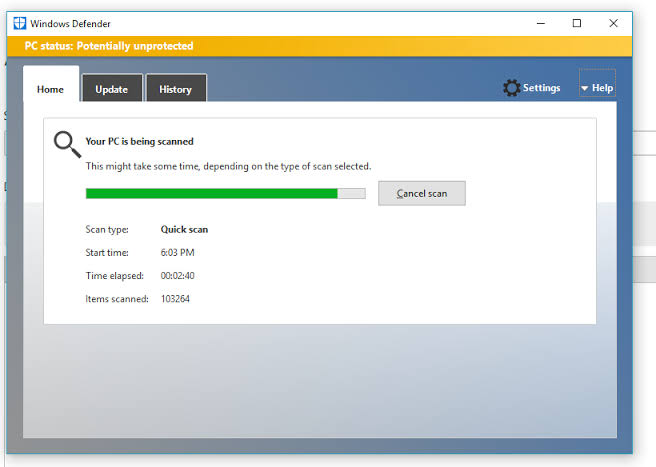
As mentioned above, viruses and malware can prevent successful updates from being installed. Therefore, we recommend that you perform a thorough scan of your computer. One possibility is to use an anti-virus program built into your computer. Here are the instructions:
- Go to the taskbar and then click the Search icon.
- In the search field, type “Windows Defender”.
- At the resulting page, select Windows Defender Security Center.
- In the right pane, click Virus and Threat Protection.
- On the new page, click the “Run A New Advanced Scan” link.
- Select Full Scan, and then click Scan Now.
Conclusion
As already mentioned, error 0x80070005 appears over and over again out of nowhere and can be very annoying. Users are being prevented from installing or updating applications. Hopefully, you have completely fixed this bug in the Windows Store with the help of the above easy but effective solutions.