
Windows Resource Protection (WRP) is a system tool present in every Microsoft Windows installation. What it does is essentially protect the core resources that Windows needs, and it does at all times. Generally, it keeps your Windows 10 or 11 PC safe without ever poking its head out unless it needs to. However, despite best intentions, Windows Resource Protection can sometimes cause issues and problems on your device.
One of the most well known issues that can arise on your computer from Windows Resource Protection is the “Windows Resource Protection could not perform the requested operation” error. What this typically indicates is that there’s an issue with your WRP configuration, and this can be a complicated dilemma to troubleshoot and fix.

So, what do you do when you face this problem on PC? Well, that’s what we’re here to help you with today. We’ve compiled a guide to fixing the problem, keeping things as simple as possible. So, if you’ve been facing this annoying issue, then keep reading for help.
How to Troubleshoot & Fix “Windows Resource Protection Could Not Perform The Requested Operation” Error on Windows PC
Now, while we’ve tried to simplify things a fair bit, this is still a fairly complicated issue. Make sure to follow these steps carefully as we’ve detailed them, or you’ll end up not fixing the issue on your PC. Now, let’s get straight into the troubleshooting guide.
Solution 1: Run The System File Checker Scan (SFC)
- Open the Windows start menu.
- Search and launch your command prompt as an administrator.
- Type the command ‘sfc /scannow‘ into the command prompt.
- Wait for the System File Checker to complete its scan and fix any issues.
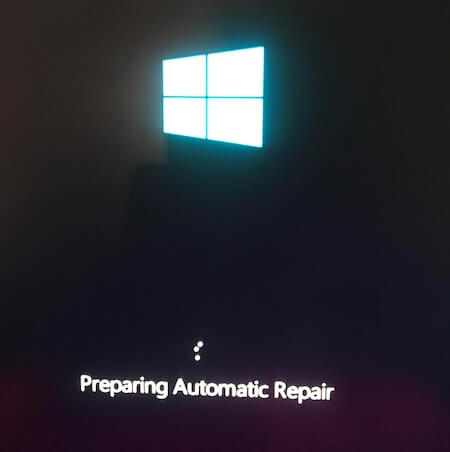
Solution 2: Run Windows Automatic Repair Tool
- Reboot your computer.
- When on the boot screen, hold the F8 key to access Advanced Startup.
- Select Troubleshoot.
- Select Advanced options.
- Pick the ‘Startup Repair‘ option.
- Wait for PC to reboot.
- Once PC reboots, select your user account.
- Enter your password or leave empty if there is no password.
- Wait for Windows to complete its scan and fix any issues it has found.
Solution 3: Use ‘chkdsk’ Command for your Hard Drive
- Open the Windows start menu.
- Search and launch your command prompt as an administrator.
- Type the command ‘chkdsk C: /r‘ into the command prompt.
- Wait for the system to complete its scan and fix any issues.
Conclusion
If none of these fixes your issue, then your best bet is to reset your Windows installation. It’s a difficult issue, and there’s a fair chance this will be the case. We hope these guides do help you fix the problem however, and for more tips and fixes like this, stay tuned for more.