
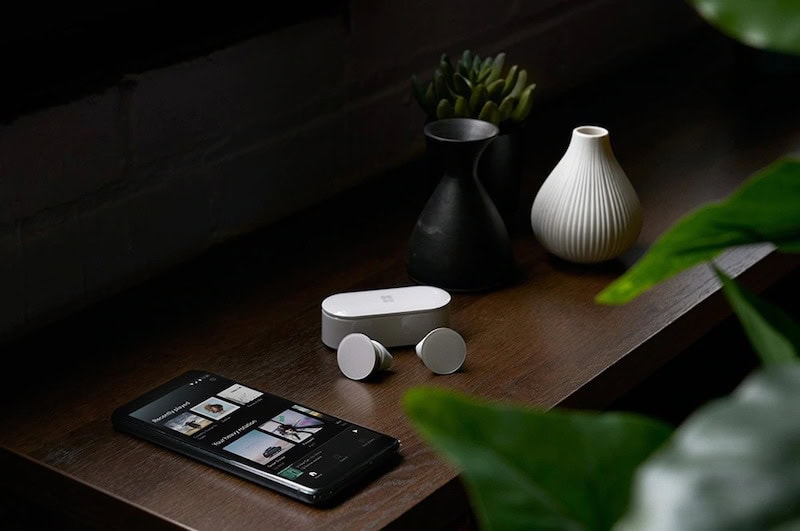
Microsoft has just entered the true wireless earbuds (TWE) battle arena with the introduction of Surface Earbuds. This very competitive space is being shared by well-loved TWE products such as the Apple Airpods, Samsung Galaxy Buds, Google Pixel Buds, Amazon Echo Buds, and the series of earbuds from Sony.
The Surface Earbuds has its pros and cons but a lot of users are enjoying this Microsoft offering. And the company is dedicated to bringing the best out of this device by releasing regular updates on its firmware.
Users can always expect better experience with every Surface Earbuds firmware update. Microsoft aims to improve audio quality as well as paring and connectivity stability.
When Microsoft pushes a firmware update for Surface Earbuds, users will see it the first thing they power on their device. They have the option to update through the Surface Audio app on Windows 10 or mobile available for both Android and iOS.
Make sure to have your batteries fully charged as downloading and installing updates can take some time. If you are ready, head on to the methods below on how to update your Surface Earbuds.
How to Install Firmware Update on Surface Earbuds using the Surface Audio App
Use Surface Audio App on a Windows 10 PC
- If you have not done so, start setting up your Surface Earbuds in the Surface Audio app.
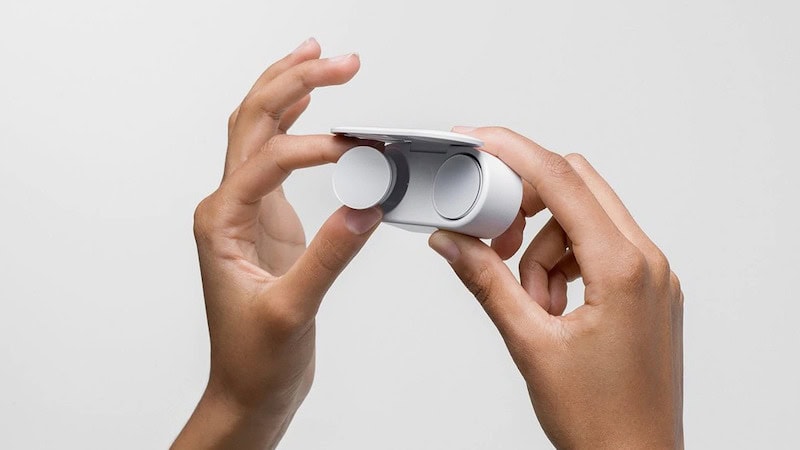
- To connect, take your earbuds out of the charging case.
- Open the Surface Audio app, then select Update earbuds.
- The button only appears when an update is available.
Surface Audio App on an iOS or Android Device
- Set up your Surface Earbuds in the Surface Audio app.
- Connect your Surface Earbuds by taking it out of the charging case.
- If you see a notification if you see that an update is available for Surface Earbuds.
- Open the Surface Audio app, then select Update now.
- This button only appears when an update is available for your earbuds.
That’s it! The update can take up to 15 minutes or so to download and install on Windows 10 and Android. For an iOS device, it would take about an hour to complete. You won’t be able to use your earbuds to make calls or listen to music while the update is in progress but fret not, you will get a notification when the update is done.
How to Update the Surface Earbuds Charging Case
You have to update the charging case as well in order to keep your earbuds and charging case working properly. This is done using the Surface Audio app for Windows 10 and the USB cable that came with your Surface Earbuds.
- Plug the USB cable into your PC and plug the USB-C end into the USB-C port on the back of the charging case.
- Open the Surface Audio app, then under Devices, select Surface Earbuds.
- Select Updates, and then under Update your charging case, select Update case.
- This button only appears when an update is available.
- Keep the USB cable plugged in and follow the instructions.
Did this guide help you update your Surface Earbuds and its charging case easily? Let us know in the comments below.