
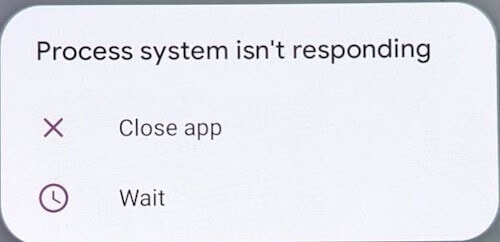
The “com.process.systemui has stopped” error is one that some fortunate Android users experience occasionally, and can be very disruptive to your usage of your Android device.
This error appears on all Android products, including smartphones and tablets, and suggests there is an issue with the System UI itself. The System UI refers to the ‘user interface’ of your Android mobile device, and this means generally that there is a problem with rendering the GUI of the device that is attached to your OS.
Often, users run into this error when they have installed a custom ROM on their Android phone, as these can change the System UI.
The following article will be a troubleshooting guide on how to go about solving the “com.process.systemui has stopped” error, so that those who are experiencing it can refer to this guide and follow the steps to diagnose and resolve the issue.
How to Troubleshoot the System Issue & Fix com.process.systemui Has Stopped Error on Android Mobile Device
To solve the Process System UI isn’t responding or has stopped working error on Android mobile devices, the following options can be tried on your phone:
Troubleshooting Method 1: Wipe the Mobile Device’s Cache Data
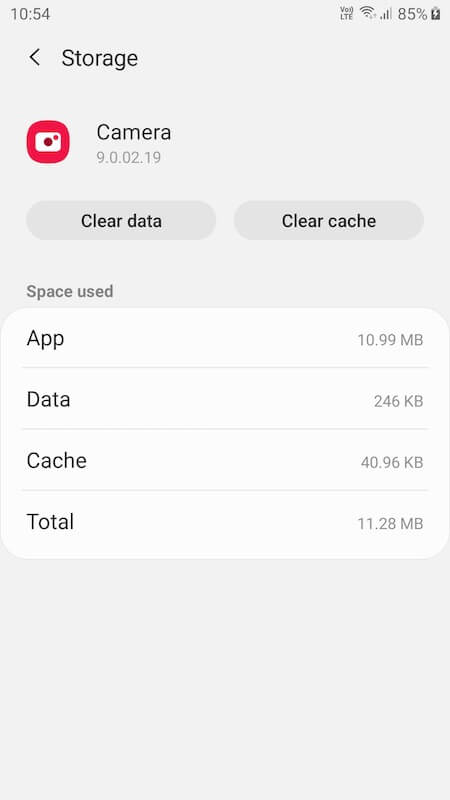
Wiping cache often solves computer and mobile phone related issues, as sometimes the issue is something stored in the cache data. To do this, simply:
- Turn off the device completely.
- Boot the device into recovery mode – which for most Android smartphones is done by holding the Power, Volume Up and Home button (if your phone still has one) whilst turning on the device.
- Then, in Recovery Mode, navigate to the “wipe cache partition” option and see if it resolves the issue.
- This method does not delete any apps or data – it just deletes temporary cached junk where the cause of the error may be.
Troubleshooting Method 2: Remove Third-Party Apps that Could be the Culprit
Did you install or update an app just before this issue started appearing? Well, it could be that a third-party application is causing your smartphone to display the error. To try to troubleshoot this issue:
- Boot your device into Safe Mode.
- Use the device for a while, ensuring the error doesn’t pop up.
- Browse through installed applications on the device to determine which app is causing the error.
- Remove the offending application from your phone.
Troubleshooting Method 3: Reinstall or Change your Android Device’s ROM
This step only applies to users who have a custom ROM installed on a rooted Android smartphone. Sometimes, if a device is rooted and a custom ROM is installed, this can cause the device’s data and cache to become corrupted which could cause the error to be displayed.
You can either follow a guide to reinstall a ROM that you have already installed, being sure to follow the instructions correctly, or you can do the following to go back to stock Android to see if it resolves the issue:
- Boot the smartphone into your custom recovery mode, such as TWRP.
- Select the Restore option.
- Select one of the backups that have been made using the stock ROM of your device.
- Select the partitions you would like to restore.
- Finally, begin the restore process.
This will return your phone to the stock ROM that it came with, hopefully resolving the issue.
If you are still having the error after trying the troubleshooting solutions recommended in this article, then you should contact your device manufacturer if you are under warranty still, or alternatively try to do a factory reset of the device.