
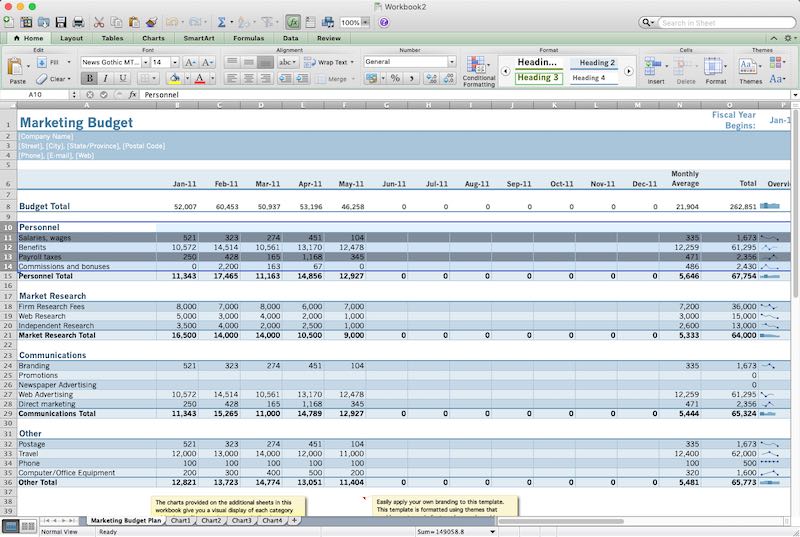
When you are dealing with large data sets and you want to properly organize it, a good tool to use is Microsoft Excel. Users can arrange data in workbooks, create calculations, and build charts. It is equipped with formatting tools to help users professionally work on their data.
There are times when you have to delete rows in your spreadsheets. It is an easy task if you are dealing with 1 or 2 rows. But, it becomes time-consuming if you have to delete multiple rows in your Excel sheet. You will have to spend some time manually deleting one row at a time.
Fortunately, there are easy ways on how you can delete multiple rows in one go. Check out the methods below to know how to do it.
How to Remove Multiple Rows in Microsoft Excel in One Go
Method #1 – Click the Delete Button
- First, select the rows that you want to delete by selecting a row and dragging your cursor to the rest of the rows. You can also press Shift and click the rows you want to select. This works properly if you are removing rows that are not beside each other.
- After selecting the rows, hit the Delete button on your keyboard or the Backspace button.
Method #2 – Use the Delete Row Option
If the above method does not work, you can use the Delete Row option from the menu.
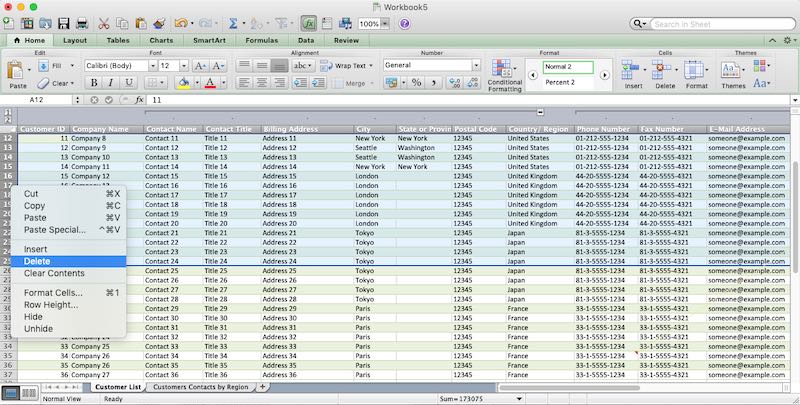
- Select the rows you want to delete.
- Right-click on your mouse or trackpad to open the drop-down menu.
- Select Delete Row.
- Click Entire Row and click OK.
Method #3 – Using a Keyboard Shortcut
The keyboard shortcut to deleting rows in Microsoft Excel is Ctrl and – (minus) keys.
- Select the rows that you want to delete. You can also use the keyboard shortcut Ctrl + Shift + (number of rows) to select the consecutive rows that you want to delete. The number of rows must be from the first row to the last row you want to delete. If the last row is 40, press Ctrl + Shift + 40.
- Now, press Ctrl + – to delete the rows.
Which method above helped you delete multiple rows fast in your Microsoft Excel spreadsheet? Let us know in the comments below.