The Steam client automatically updates any game installed by default. Whenever, Steam starts with a network connection or if Steam is running, then updates will be installed if available.
Although this option is desirable for most users because game updates can introduce bug fixes, new features, performance improvements and other useful changes, some Steam users may prefer to control the update process.
There are several reasons why you want to retain control over Steam updates. One of them might be to:
- To avoid wasting bandwidth when updating games you don’t want to play soon.
- To avoid game updates that cause problems or unwanted changes.
- To save bandwidth for other more important use.
How to Disable Steam Auto Updates on Windows 10 or 11 PC
Limiting the Bandwidth
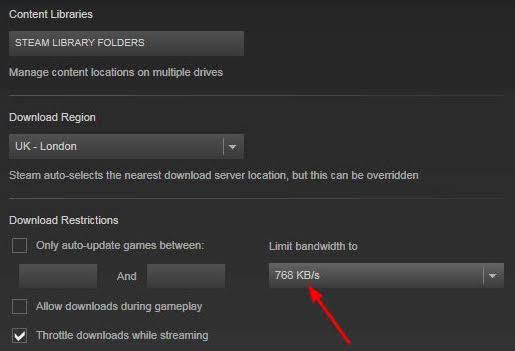
This is the coolest way to disable automatic update on Steam. You can limit the bandwidth to the desired minimum. This will help you to use the remaining available bandwidth for your own personal use, and Steam will only use the limited bandwidth.
- Open Steam and go to the main menu.
- Select Steam and click the Settings button in the drop-down list.
- Go to the Download tab and go to the Download restrictions section.
- Click on the Limit bandwidth option and open the drop-down menu.
- Select the speed that you want.
- Save the changes.
Only Update Games at Launch
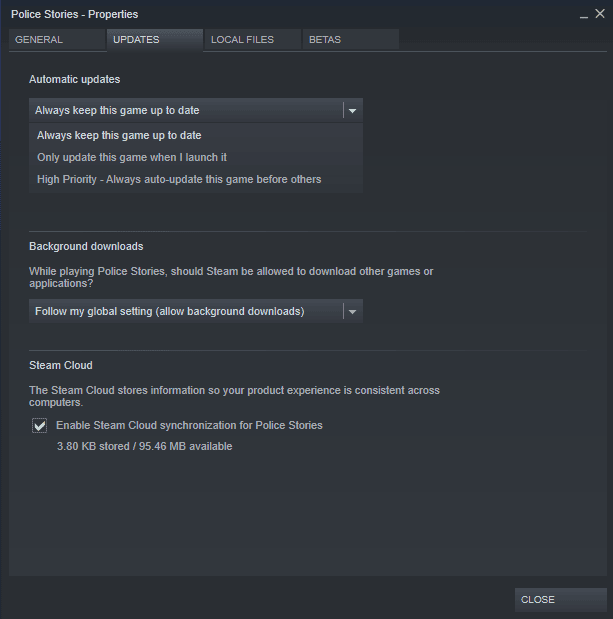
The method works for games that are not currently being played, but you do not want to update or download the latest updates, and you want to avoid future downloads.
- Launch Steam.
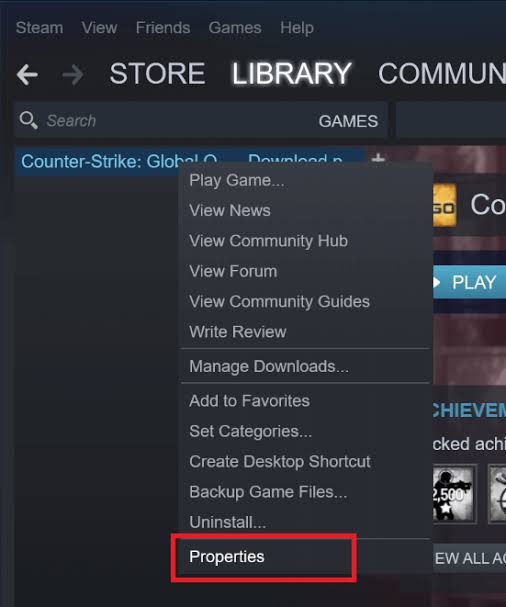
- In the horizontal menu at the top of the Steam window, click the “Library” button.
- Hover over the game and right-click on it, then select “Properties” from the menu that appears.
- In the window that appears, go to the “Updates” tab.
- Select “Only update this game when I launch it” from the Automatic Updates drop-down menu.
- Close the Properties window.
Designate an Automatic Update Time
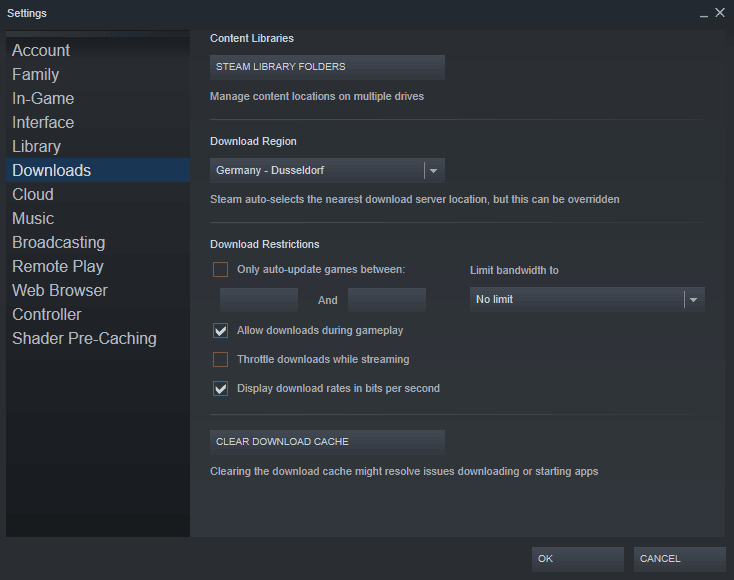
If you encounter a slow Internet connection during critical hours due to Steam game updates, you can set a time frame for automatic updates. This configuration requires Steam to update your games only at a given point in time. This is especially useful because you can always set the time when you are not using your computer, for example, while sleeping. The steam can also be updated by itself and you won’t have to worry about it.
- Open the Steam client.
- In the upper left corner you will find the Steam option. Click on it and select Settings from the drop-down menu.
- Click on the Downloads tab on the left. In the Download settings, you will see an area called “Download Restrictions”. Here you can set the time that Steam should be updated. This allows Steam to stop downloading when the time window is open and wait for the download again when the time comes.
Disable Steam Automatic Updates
This method is known as the permanent solution that provides satisfactory results to disable Steam auto updates. Try the following steps:
- Click on the Steam Client tab to open it.
- Click the Library tab at the top of the screen.
- The drop-down menu displays the game settings. Click on one of the special options you want to disable.
- Click on it and review the properties before selecting the tabs to update.
- There you will find automatic update options at the bottom of the navigation bar. You need to change the default settings and select the parameters to download. Be sure to check for updates that are necessary for your system. If you need to return to the previous settings, you can change them at any time.
In addition, you can also save a specific set of priorities in the priority list, which allows you to update only the selected settings.
Disable Steam Startup Update
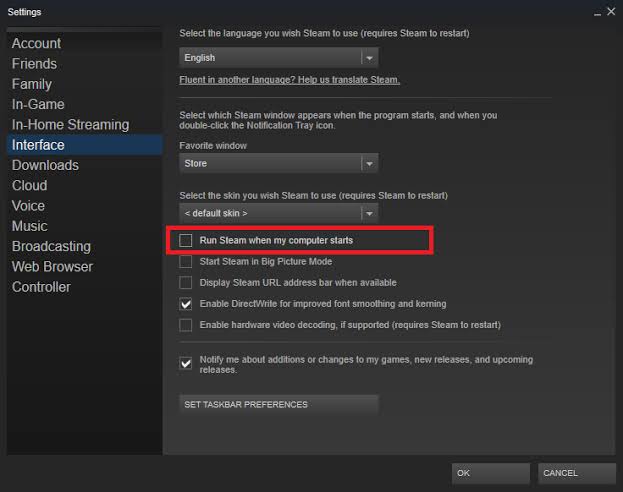
Steam begins downloading auto updates whenever it detects an Internet connection. It is constantly updated in the background to keep your games up to date. To avoid this if you want to use the full speed of your Internet connection, proceed as follows:
- Start Steam and go to the main menu.
- Select Steam/View, and then go to the settings.
- Select the interface in the left pane.
- Open the Run Steam menu and turn off the “When my computer starts…
- Save the changes.
Conclusion
As you may have noticed, these methods are more of a workaround than a reliable solution and do not completely disable the automatic update feature of Steam. Unfortunately, as we are all looking forward to the implementation of an auto update toggle button, these are the only solution available to us for now.