
If you want to fix Outlook error code 0x8004011D, there are different methods that you can do. Outlook is used by many people to send and receive email messages. However, there are instances when an error occurs during the email exchange.
When you encounter the error, you will one of the following error message:
“Cannot find %PROGFILES64%\WIDCOMM\Bluetooth Software\0x8004011d Outlook.”
“0x8004011d Outlook not found.”
“This application failed to start because 0x8004011d Outlook was not found. Re-installing the application may fix this problem.”
“0x8004011d Outlook Access Violation.”
“The file 0x8004011d Outlook is missing.”
“Cannot register 0x8004011d Outlook.”
“Cannot start Bluetooth Software. A required component is missing: 0x8004011d Outlook. Please install Bluetooth Software again.”
Reasons for Outlook Error Code 0x8004011D
There are common causes of the Outlook Error Code 0x8004011D. Most users reported a malware infection in their system. There are also system ports that are blocked or a system level conflict.
For some users, they experience an interruption in their Internet connection hence a good way is to check the speed of your Internet. Check if your router is connected or figure out what is causing the interruption.
How to Fix Outlook Error 0x8004011d
Solution 1 – Update Your Windows
A quick update on your Windows to its latest version can help solve the error and other problems with your Outlook. But, before you install any Windows Update, make sure you have disabled Skype and your antivirus software, as these may cause a conflict on the update process.
- Click Start.
- On the search box, type Windows Update.
- Next, check for any available update. Download and install.
- Once the process is done, check your Outlook if the error still exists.
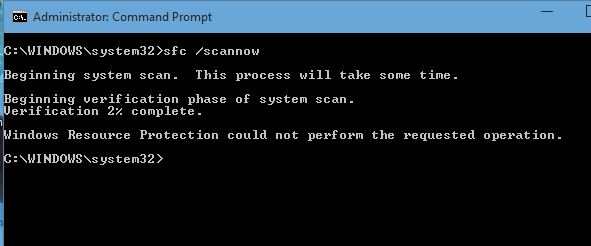
Solution 2 – Perform an SFC Scan
- Open your search box.
- Type cmd to open the Command Prompt and run as administrator.
- Next, type sfc /scannow.
- Wait for the process to finish.
- Once done, restart your computer and check your Outlook for error.
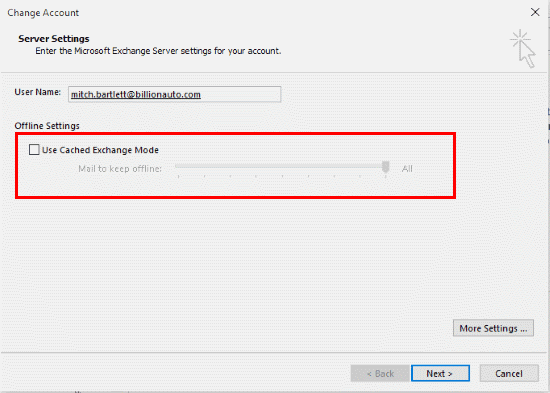
Solution 3 – Enable Your Exchange’s Cache Mode
Before performing this process, see to it that you are running the latest version of Outlook.
- Open a Run dialog box.
- Type ‘control.exe’ and press Enter.
- Click Mail.
- Next, under Email Accounts, select E-mail account button.
- Go to the Email Tab.
- Double click the Exchange account you are currently using.
- Under the Offline Settings, check the Use Cached Exchange Mode box.
- Restart your Outlook and check if the error still exists.
Perform the solutions above and see which method works best for you? How do you like Outlook for your email exchange? Let us know in the comments below.