
These days, understanding how to maintain password security has become essential. Manually tracking login details for multiple platforms can be challenging, not to mention the risk of using weak or duplicated passwords. Enter Bitwarden, an open-source password manager that becomes an integrated part of your browsing experience while offering a high-security standard to protect your passkeys and signin credentials as well as credit card payment information.
Recognized for its user-friendly interface, customizable features, and stringent security measures, Bitwarden stands among the leading password management tools today. Being available as a browser extension makes it even more convenient for ChromeOS device users, as it effortlessly blends into your internet browsing routine.
How to Install, Setup and Use Bitwarden Password Manager for ChromeOS to Manage your Login Credentials on a Chromebook Device
This guide provides comprehensive step-by-step instructions for installing and using Bitwarden on your Chromebook, guaranteeing a smooth, secure, and efficient browsing experience on your Chrome OS laptop computer.
Step 1: Set up Bitwarden
Bitwarden offers browser extensions that automate password management directly in your preferred browser. Download the Bitwarden browser extension from either the Bitwarden Downloads page or your browser’s app store. The extensions are compatible with the most recent versions of numerous browsers, including Google Chrome and Firefox.
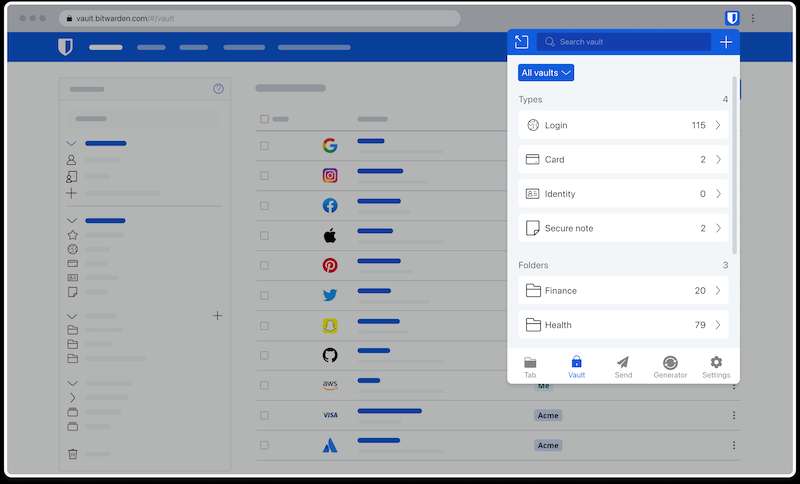
Step 2: Organize Your Vault
After installing the extension, it’s time to create a new login item and place it in your personal vault. One way to efficiently navigate your vault is to categorize items into folders. To do so:
- Click on the Settings tab and select Folders from the settings list.
- Click on the Add icon.
- Name your folder and press Save.
- Once the folder is created, you can generate a secure and easily identifiable login within it.
Step 3: Create Secure Logins
Secure logins involve strong, unique passwords to prevent unauthorized access. Bitwarden comes with a password generator feature that allows you to replace any weak password with an automatically randomly generated one, significantly increasing the security of your accounts.
Step 4: Auto-fill Logins
Bitwarden enhances convenience with its auto-fill capability. The extension detects the URI of the webpage open in your tab and matches it with the login items stored in your vault. By selecting a login within the Bitwarden pop-up, your username and password information fills automatically in the designated fields.
Step 5: Auto-save New Logins

Bitwarden also offers an auto-save feature that remembers new logins. This feature kicks in when you manually log into a website without the auto-fill feature, helping you add those credentials to your Bitwarden vault.
Additional Tips: How to Optimize your Bitwarden User Experience on ChromeOS
Bitwarden provides additional features to optimize user experience. These include setting up a PIN or biometrics for vault unlocking, pinning the extension to the browser for easy accessibility, and disabling the browser’s built-in password manager to avoid duplication and enhance security.
Remember, maintaining a secure and organized login vault can be an easy exercise if you use the right tools and techniques. Bitwarden’s numerous capabilities make it an excellent choice for managing your online security on your Chromebook.
Plus, using Bitwarden on your Chromebook means you aren’t just adopting a password manager—you’re adopting a more secure and efficient digital lifestyle. As it secures the vault in your virtual life, you can continue to explore the infinite horizons of the internet, assured that your credentials are in safe hands.