
Windows Update error code 800F0A13 is caused by poorly configured system files. This usually happens when the computer’s recording system is overloaded with too much data, or when some system files are missing or corrupted. Many Windows users cannot install some updates and will encounter the error code after each update failure.
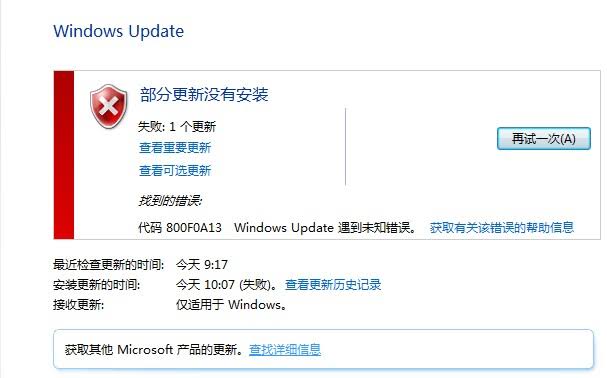
If you received this error on your PC, it means that there was a malfunction in your system. The most common reasons are an incorrect or failed installation or uninstallation of software that may have left invalid entries in your Windows Registry, the consequences of a virus or malware attack, an incorrect system shutdown due to a power failure or other factor, a person with little technical knowledge who mistakenly deletes a necessary system file or registry entry, and a number of other reasons.
Here are some the effective methods we’ve gathered to help you solve the error code 800f0a13 issue with Windows Update.
How to Troubleshoot and Fix Error Code 800F0A13 During Windows Update
Running the Windows Update Troubleshooter
Several reasons may cause this error, but the problem occurs in most cases because Windows Update is somehow affected. For this reason, you should check that your Windows installation is able to automatically solve the problem before trying manual solutions.
Here are the steps to follow to run Windows Update Troubleshooter:
- Open a Run dialog box by pressing the Windows + R button. Then type ‘control.exe /name Microsoft.Troubleshooting’ and press Enter to open the Troubleshooting tab of the Classic Control Panel interface.
- Once in the Troubleshooting window, go to the right part of the screen and click on Fix Windows update problems (under System and Security).
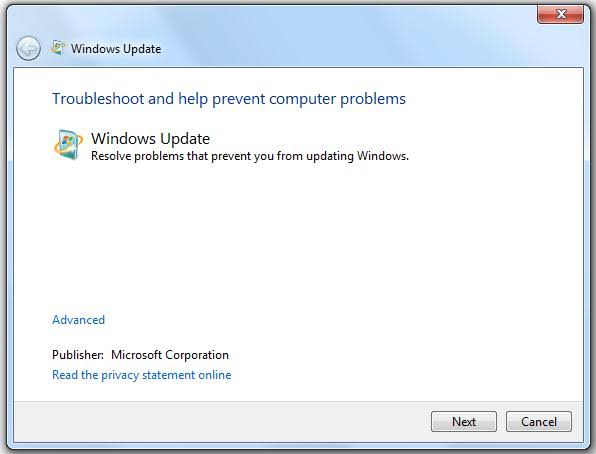
- On the initial Windows update screen, click Advanced, then select the Apply automatic repair check box before clicking Next. This ensures that the patch is automatically applied when a workable solution is found.
- Wait until the analysis is complete. This procedure determines whether one of the repair strategies included in the Windows Update troubleshooting is applicable in your particular scenario.
- When a viable repair strategy is identified, you will see another window where you can click Apply this repair. Then, follow the instructions on the screen to force the correction. But remember that, depending on the recommended patch, you may or may not have to follow a number of additional instructions.
- Once you have successfully applied the recommended correction, restart your computer and check if the problem is solved after the next boot sequence.
Run the System File Checker

- Go to the command prompt
- Click Run As Administrator.
- If you are using Windows 10, Windows 8.1 or Windows 8, run the DISM ( Deployment Image Servicing and Management) tool before running System File Checker. Type the command:
- DISM.exe /Online /Cleanup – Image /Health restoration
- DISM.exe /Online /Cleaning image /Restoring health
- At the command prompt, type the following command, then press ENTER:
- sfc /scannow
- Never interrupt the scanning and close the command prompt window until the scanning is finished.
- When you are finished, restart your computer.
Run the System Update Readiness Tool
The System Update Readiness Tool (CheckSUR) is a downloadable Microsoft utility that you can use to solve various Windows update issues. This is done by analyzing the files and registry keys associated with updates and replacing damaged files with good versions. For a complete list of Windows Update Error Codes sent by CheckSUR, see Microsoft Knowledge Base article KB947821, which also contains download links for all versions of CheckSUR.
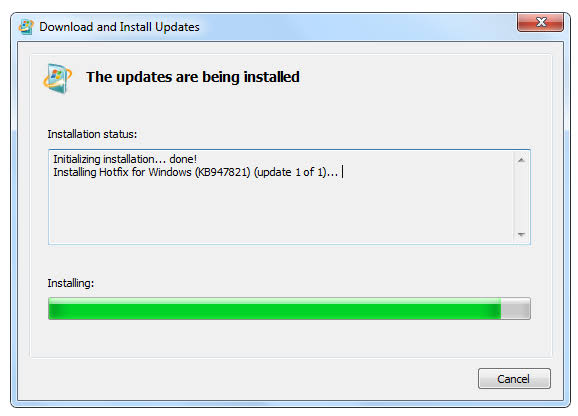
- To use CheckSUR, simply download the appropriate version of KB947821 and run it on the appropriate system. It will be installed like any other update:
- During this “installation process” CheckSUR checks the files and registry settings for installed updates. This process may take 15 minutes or more and a break is not recommended. Once completed, the results are not displayed on the screen but are in %windir%\Logs\CBS\CheckSUR.log. The Summary section shows how many errors were detected. If this indicates that all the errors have been fixed, the problem is probably solved and you can try to reinstall Windows updates.
- Often CheckSUR is not able to automatically fix all the errors found. This is usually due to the fact that the necessary recovery files do not exist. In this case, the necessary files should be obtained from another source, such as a Microsoft service pack or a machine that is running the same version of Windows as the corresponding machine.
Perform Starup Repair

Although Windows 8 has updated and introduced new ways to restore and upgrade your computer, Windows 7 still relies on outdated ways to do this work. If your computer doesn’t boot up, or if you are having trouble booting up, repairing your Windows 7 bootup in progress will help you resolve any problems you encounter.
Windows 7 startup repair works just like automatic repair in Windows 8, but a little slower. Windows 7 automatically performs a startup repair if it detects startup problems that may prevent your computer from completing the process. If you need to perform the repair yourself at boot time, you will first need to restore the disk when booting from Windows 7 or the installation CD on which the operating system was installed.
- Start with the advanced startup options.
- Click Troubleshoot.
- Click Advanced Options.
- Click Startup Repair.
- When prompted, select the operating system on which you want to restore the boot.
- When prompted, select the administrator account to grant permissions to confirm.
- When the repair starts “Diagnosing your PC” it tries to restore it automatically.
- If the repair fails, you will see a brief description of the problem in the log file.
Conclusion
As you have followed the guide we have compiled above, we hope that you fixed the issue on the error code 800f0a13. Eventually, you will be able to update your computer successfully. Let us know your thoughts in the comments below.
Fix Google Play Error RPC:S-5:AEC-0 or RPC:S-7:AEC-0