
If you’re a T-Mobile customer looking to save some cash while enjoying the convenience of AutoPay, you’ve come to the right place. We all know that staying connected through smartphones is a necessity these days, but it doesn’t have to break the bank.
By taking advantage of T-Mobile’s AutoPay discounts, you can keep your service active and pocket extra monthly savings.

Step by Step Method on How to Use T-Mobile AutoPay and Get Discounts
In this article, I’ll walk you through the simple steps to set up AutoPay and ensure you never miss a payment. Let’s dive in!
Step 1: Sign Up for AutoPay
Log in to your T-Mobile account through the website or the T-Mobile app. If you haven’t created an account yet, signing up with your T-Mobile phone number and other required details is easy.
Once logged in, look for the “AutoPay” section, usually in the Billing or Payments menu.
Step 2: Choose Your Payment Method
Next, you’ll need to choose the payment method you want to use for AutoPay. T-Mobile accepts various options, including credit cards, debit cards, and bank accounts.
Please select the one that works best for you and ensure that it has sufficient funds each billing cycle.
Step 3: Set Up AutoPay Date
Now, it’s time to set up your AutoPay date. You can usually choose a specific day of the month when you want T-Mobile to charge your chosen payment method for your monthly bill automatically.
Pick a date that aligns with your pay schedule, or when you know you’ll have enough funds available.
Step 4: Enable AutoPay Discounts
One of the best perks of setting up AutoPay with T-Mobile is the discount you’ll receive on your monthly bill.
Once you’ve completed the payment setup, you should see a confirmation message indicating that the AutoPay discount has been applied to your account. It’s like getting rewarded for being responsible!
Step 5: Check Your Billing Statements on T-Mobile AutoPay
While AutoPay takes care of your payments automatically, staying on top of your billing statements is essential. Periodically review your T-Mobile statements to ensure no unexpected charges or discrepancies. This way, you can address any issues promptly and avoid surprises on your bill.
Step 6: Update Payment Information if Necessary
Life is full of changes, sometimes including updates to your payment information. If you switch banks, get a new credit card, or need to change the payment method, don’t forget to update it in your T-Mobile account.
Keeping your payment details current ensures that AutoPay continues to function smoothly.
Step 7: Monitor Your T-Mobile Usage
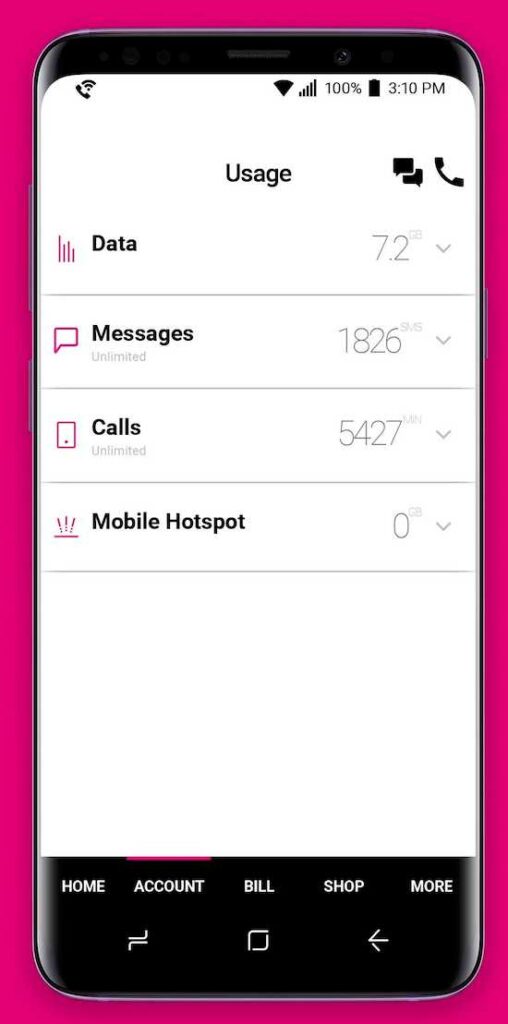
AutoPay makes paying your T-Mobile bill hassle-free, but monitoring your data and minutes usage regularly is also a good idea. Knowing how much you’re consuming can help you adjust your plan if necessary and avoid any potential overage charges.
Congratulations! You’ve mastered the art of saving money with T-Mobile’s AutoPay discounts. By following these straightforward steps, you can enjoy the convenience of automatic payments while keeping more money in your pocket each month.
Remember, staying connected shouldn’t cost a fortune, and T-Mobile’s AutoPay feature is here to ensure that. So, set up AutoPay now to experience the benefits firsthand. Happy saving!