
A lot of people are choosing Roku as one of their streaming media for TV shows and movies. Roku has made its name in the online streaming industry and has gained the trust of many users.
Watching different channels on Roku may add up to several cache files stored in your internal storage. At some point, it may cause an issue to your streaming especially when you have a lot of apps in your storage. One way to solve these problems is to clear your cache on Roku.
However, Roku does not store cached data. Even if it does, it only stores very few data on your device. You cannot even find a dedicated function that will clear the cache on your Roku device.
Roku only stores the device’s software so if you are looking for a clear cache function, you cannot find it in the settings. All you have to do is to perform a factory reset on your devices. The factory reset will simply clear viewing history or preferences that are stored in the system. These data helped the system identify the channels that you want to watch and removes those that you do not prefer.
If you want to clear the cache on your Roku device, do a factory reset by following the steps below.
How to Clear Cache on TCL Roku TV
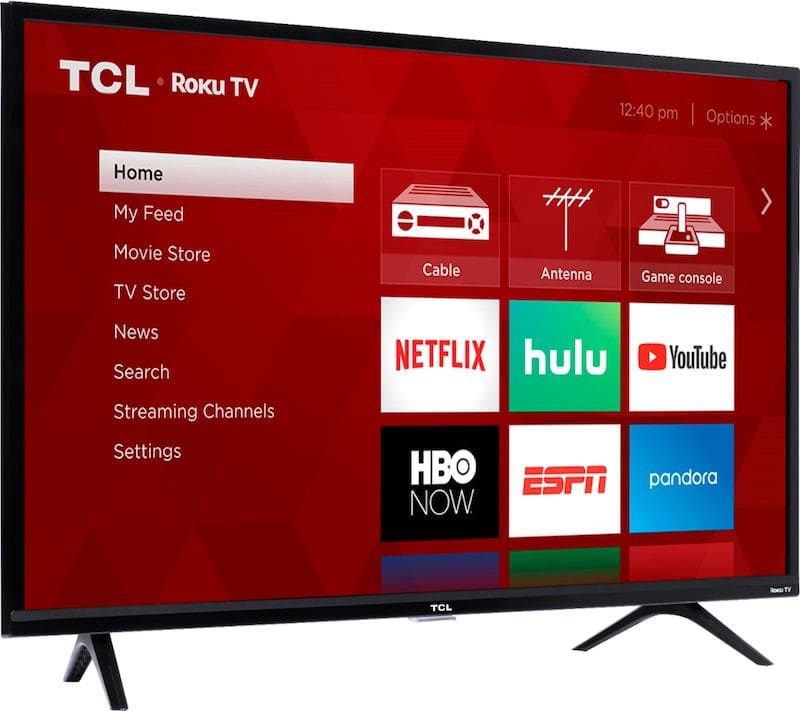
- Go to the main screen by pressing the Home button.
- Next, click Settings.
- Scroll down and look for System.
- Open Advanced system settings.
- Choose Factory reset.
- Now, click Factory reset everything.
- Type the code found on your screen.
- Click OK.

How to Clear Cache on Roku Express
- Go to the main screen and open Settings.
- Click System and open Advanced system settings.
- Among the three options, click Factory reset.
- Type the code that appears on your screen click OK.
- To do a soft reset on your Roku Express, press the Home button five times.
- Next, press the Rewind button twice.
- Then, press the Fast Forward button twice also.
Did the article help you? Tell us in the comments below.