
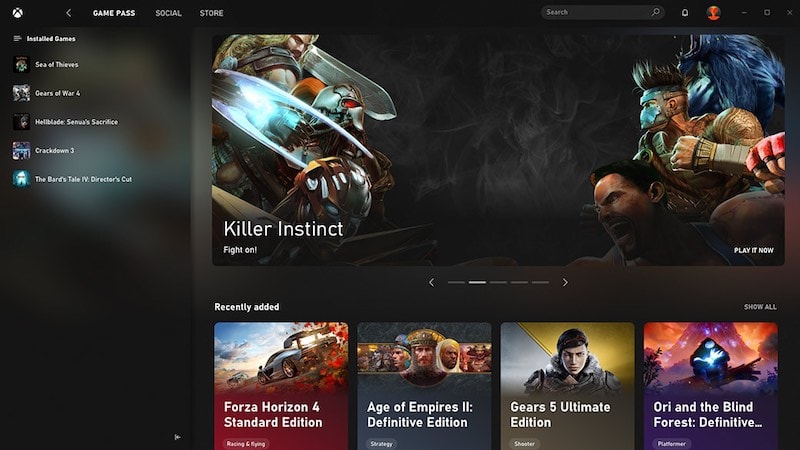
Many gamers subscribe to video game services to get access to thousands of titles. A popular video game subscription is Xbox Game Pass by Microsoft. You can play the games on Windows 10 computer with your Xbox One console.
However, some gamers reported that they encounter the Xbox error code 0x80073d13 when they install some games. Through the download progress, the error code comes up and disrupts the process.
Fortunately, there are ways on how you can fix the error.
How to Troubleshoot and Possibly Fix Xbox Game Pass Error Code 0x80073d13 Issue on Windows PC
If you encounter the Xbox Game Pass error code 0x80073d13, you may have a different disk format or allocation unit size. Having a low storage space on your local disk can also trigger the game installation error. To fix the error code, check out the solutions below.
Solution #1 – Set the Default Drive to C

- On your Windows PC, click the Start button.
- Navigate to Storage Settings.
- Look for the More Storage Settings section.
- Click Change where the new content is saved.
- Look for the New apps will save to section.
- Select Local Disk C.
- Click OK.
Solution #2 – Reset the Microsoft Store
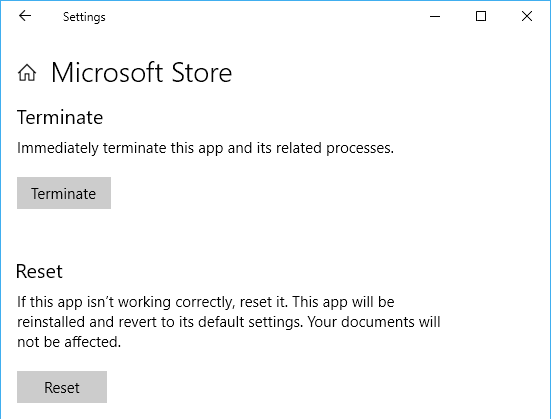
- Press Windows key + R to open the run dialog box.
- Type WSReset.exe.
- Hit Enter.
- Wait for the reset process to finish and try again.
Solution #3 – Reinstall the Xbox App on Windows 10
- To reinstall the app, you must uninstall it first.
- Launch the Start button.
- Navigate to Apps & features.
- Look for the Xbox Beta app and click to open.
- Click the Uninstall button.
- Go to the Microsoft Store.
- On the search bar, type Xbox.
- Install the app and check if the error still exists.
Solution #4 – Format Your Drive
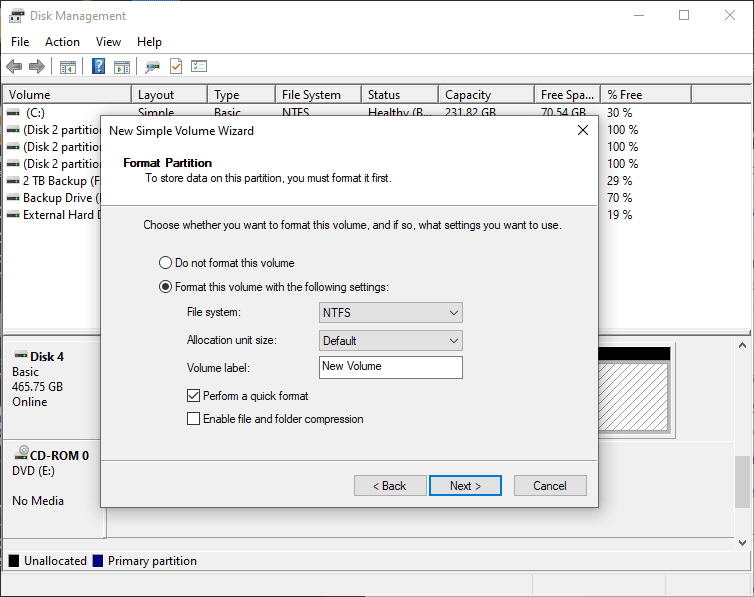
If nothing works from the methods above, you can try to format your computer’s hard drive in Windows 10. Just make sure to backup your important files before doing this.
- Navigate to your Local Disk Drive.
- Instead of clicking it to open, right-click on the name to open the drop-down menu.
- Select Format.
- Under the File System, change it to NTFS. The allocation size must be 4096 bytes.
- Now, click Start.
Which of the solutions above help you fix the error? Let us know in the comments below.
I tried all of these and it still doesnt work