
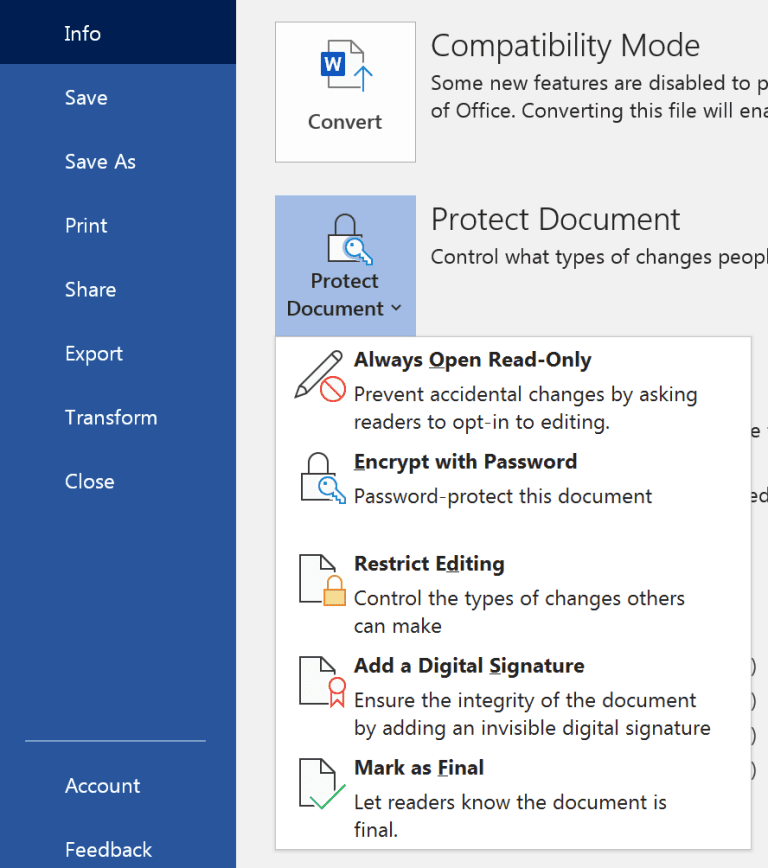
If you are planning to send a Word document to someone but are worried that your work will be edited, you can protect it by restricting edits on it. Microsoft Word has a feature that will allow you to restrict editing in your Word document without your permission.
Locking some parts of your work or even the entirety of it can prevent other people from making changes.
There are certain restrictions that you can apply to your Word document.
- You can mark the entire document as read-only.
- You can also choose specific parts as restricted for editing.
- You can only enable the formatting restrictions if you do not want changes in the format.
- You can also grant permission to certain people to edit parts of your work while the rest can only view the document.
How you want the restrictions are up to your situation and you can easily set it to what works best for you. To know how to restrict editing in your Word document, follow the steps below.
Here’s How to Lock and Restrict Editing Parts of a Word Document
- First, open the Word document that you want to restrict editing.
- Click the Review tab and go over to the Protect group.
- Next, click Restrict Editing.
- Look for Formatting restrictions. Check the option Limit formatting to selection of styles, if you want to restrict changes in the formatting of your document. You can also choose the styles that you are permitting in case of changes.
- Now, look for Editing restrictions. Check the option Allow only this type of editing in the document.
- Select No changes (Read-only).
- Select the parts of your document that you allow for editing.
- To choose the people that you want to give permission to edit your document, look for Exceptions. If you want to give permission to anyone, click Everyone. If you only want a few selected individuals to edit, click More users and type their names. Separate each name with a semi-colon.
- Click OK.
- Check the boxes next to the names that you want to edit.
- Look for Start enforcement and click Yes, Start Enforcing Protection.
- You can then assign a password and click OK.
Setting restrictions to editing can protect your work and make sure that no one can tamper your document. It preserves the work you have saved and giving you control over your document.
What do you think of setting Microsoft Word’s editing restrictions? Share with us your thoughts in the comments below.