
Is your Apple TV blocking some content? That is because your location is not allowed to stream selected movies and shows. Streaming services have geo-blocking in place, which means that there are some restrictions in showing content in selected countries or regions.
However, you can bypass the geo-restriction feature of your streaming service. One way to do it is to change the IP address of your Apple TV. Once your IP address is different, Netflix, Disney Plus, HBO Max, Hulu, Discovery Plus, and other streaming service providers will allow you to watch geo-restricted content.

How to Change Apple TV’s DNS Settings to Use Different IP Address
One of the easiest ways to change your Apple TV’s IP Address is through a VPN service. VPNs will hide your location by rerouting traffic to a remote server. It will not show your current IP address. That way, even contents with geographical restrictions will be allowed to stream on your Apple TV.
ALSO READ: How to Check and Fix if your VPN is Leaking your IP Address
Check out the methods below to learn how you can use a VPN service to change the IP address on your Apple TV device.
#1 – Set up SmartDNS Manually on your Apple TV
You can create a new DNS to configure the IP address on your Apple TV. Most well-known VPNs have the function called SmartDNS. It replaces your current DNS with a new one, so it will not show your location. SmartDNS generates a new DNS for you to use. Follow the instructions from your VPN provider on how to do it.
- Once you have the new DNS, go to the Settings of your Apple TV.
- Choose Network.
- Navigate to the Advanced Settings.
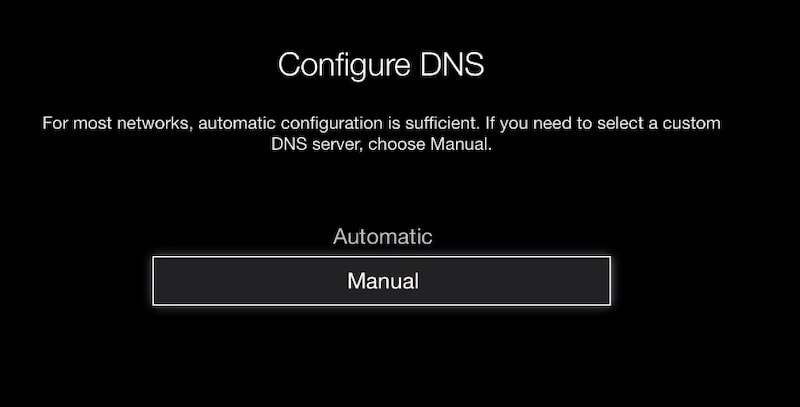
- Beside Configure DNS, click the menu.
- Select Manual.
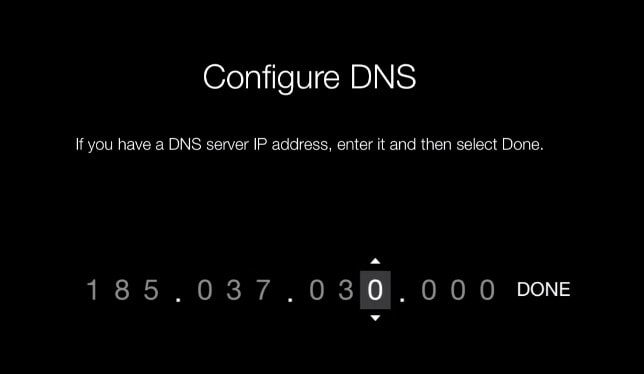
- Enter your new DNS.
#2 – Install and Enable VPN Directly on Router

To maximize the full benefits of a VPN provider, you can install it directly on your router. That way, devices connected to it will use the VPN’s IP address. You can install the VPN on your router by following the installation instructions based on your router model and the VPN service provider.
Did the article help you? You can share your thoughts with us in the comments below.