
Video conferencing apps like Zoom get constant updates to improve their functionalities and privacy features. With more trends released by other apps to enhance online communications and collaborations, it is no wonder Zoom is keeping up. Users will get to enjoy the added features that will make their videoconferencing app experience better.
Aside from the improved functions, updates for the desktop client on Mac computer or Windows 10/11PC also provide fixes to bugs and various errors. When you encounter issues from the previous app version, Zoom helps you troubleshoot and fix these problems through the latest software update.
However, the problem for many users is not being able to keep up with the needed upgrades on their Zoom app. They may forget to download and install the latest version manually hence they may be missing out on important features.
That is why Zoom is launching automatic update features that will install available updates automatically on your app. Zoom releases updates often and as needed. Even if you fail to intentionally check if there are new versions to install, Zoom will remind you of it.
Let’s find out how to enable or disable this new tool on your computer.
How to Turn On Zoom Automatic Updates on Desktop Client for Mac Computer and Windows 10/11 PC
The new automatic update feature is available for Windows 10/11 PC and macOS computers. Once enabled, Zoom will notify you that it downloaded a new update for your app. All you have to do is install the most recent upgrade on your device.
After enabling the tool, Zoom will automatically send you a prompt when an update is available. If you are currently in a meeting, you will receive notifications after it ends. Otherwise, you will get the prompt from Zoom automatically. In case you ignore it and fail to install the update, it will appear again when you restart your Zoom app.
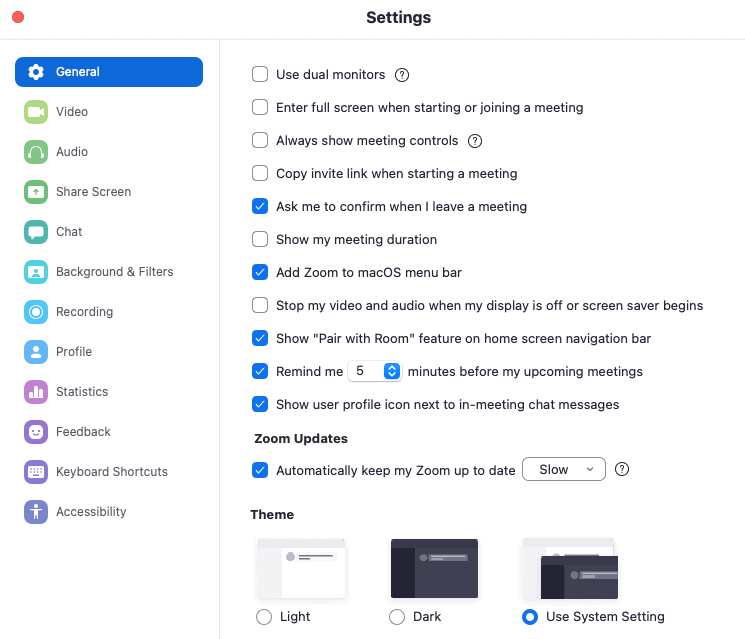
- On your Zoom client on a Mac computer or Windows PC, navigate to the Settings menu.
- Go to General.
- Look for the Automatically keep my Zoom up to date option.
- Check the box to enable it.
- Enter your admin credentials to give Zoom permission to prompt updates.
Wrapping Up!
Zoom also lets you choose to customize the prompts on your Mac or PC. If you want to get the latest updates as soon as available, choose Fast. If you want fewer updates coming in, you can select Slow.
What do you think of Zoom’s desktop client for macOS and Windows’ new automatic update feature? Will you enable it? We would love to hear from you, so please write us a comment below.