
Many people find it easy to connect online with video conferencing services like Zoom. If you are planning to host a meeting at work or for a business proposal, Zoom makes it possible. Now, you can also add a registration to your next Zoom meeting.
Prior to joining the meeting, your participants will need to register first.
Why Enable Registrations in your Zoom Meetings?
The benefit of setting up a registration process in your Zoom Meetings is to allow you to know who your participants are beforehand.
During the registration, participants will need to register their names, email addresses, and other information that you have set. It will allow you to use these data to create a better connection with your participants.
Enabling a registration will also restrict entry in your meeting. Only those who have registered can join your meeting. You may manually approve the registration of your participants or you can automatically set the approval of anyone who registers to your meeting.
How to Enable Registration in Scheduled Zoom Meetings
NOTE: Only licensed Zoom users have the ability to add participant registrations. If you don’t see the option, you might need to get a Zoom license.
- Open the Zoom web portal.
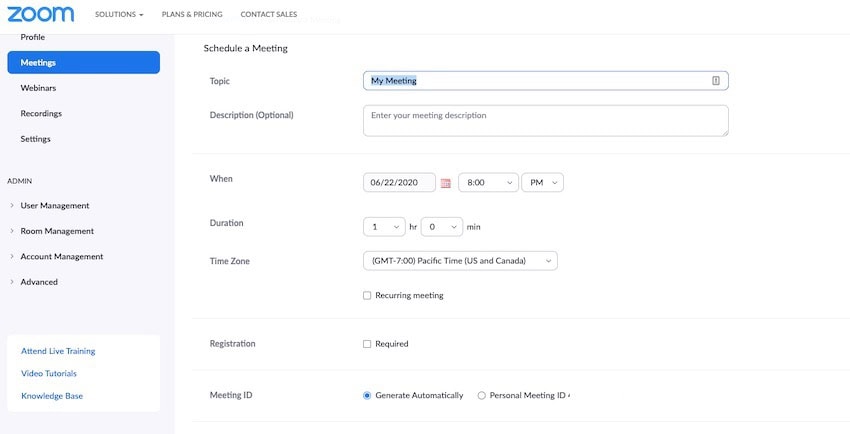
- Select Meetings. You can choose an existing meeting or you can schedule a new meeting with registration.
- When you choose to edit an existing meeting, look for the Registration option under Edit My Meeting.
- Check the box.
- Now, you can edit the Branding and Invite Attendees.
- You can add your brand and logo under the Branding section. You will also see the Registration link that you can send to your attendees.
- Click the Edit button beside the Registration Options.
- Under the Registration tab, select the kind of Approval that you want for your registration, either you manually approve or set the automatic approval.
- If you want to be notified if someone registers, check the Notification box.
- You may also check the social share buttons on your registration page.
- Click the Questions tab. Here you can check the boxes of the information that you want your attendees to answer.
- If you want to create your own questions, click the Custom Questions tab.
- Click Save All if you are done.
Was the method above easy? Enabling a registration for your meeting has its share of benefits but take note that not all Zoom meetings necessitate a registration.
Let us know your thoughts in the comments below.