
Google Play Store features a wide range of apps that you can download on your Android device. However, some users reported that they see an error whenever they try to download or update their apps on Google Play Store. When they get to the end of the app update or install process, they see the error code 506 appearing on their screen.
Why Do I Get the Android Error Code 506?

If you see the error message on your Android device, you are not alone. Many users encounter the same error. It may be due to corrupted cached data in your Google Play Store app. In some cases, there is an issue with the SD card.
How Do I Fix Google Play Store Error 506?
Even if you encounter the error code in your Android mobile phone, there are several ways on how you can fix it.
Method #1 – Restart Your Android Phone

A quick restart can refresh the processes running on your device. It can also delete temporary files that may be contributing to the error.
- Press and hold the Power button.
- Tap Restart.
- After rebooting your device, launch your Google Play Store and download an app.
Method #2 – Check Your Date and Time

Incorrect date and time on your Android phone can also lead to error code 506.
- Navigate to the Settings of your phone.
- Go to Date and time.
- Check if your date and time are accurate.
- You can also enable the Automatic option.
Method #3 – Clear the Google Play Store App Cache and Data
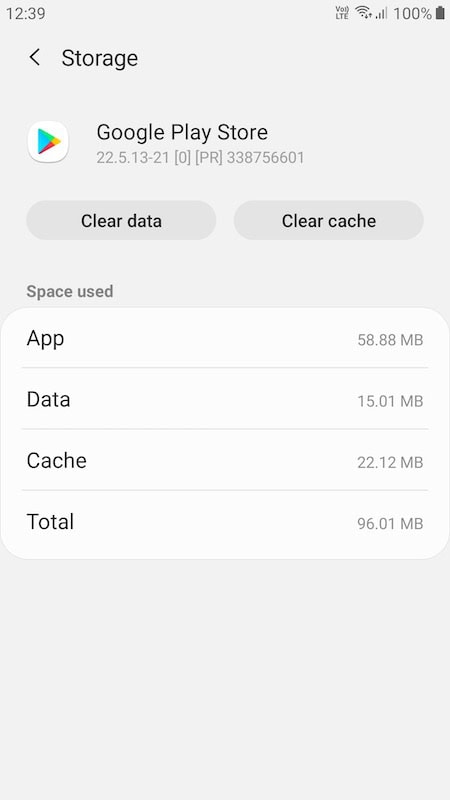
- Open the Settings of your phone.
- Go to Apps.
- Look for Google Play Store and tap to open.
- Tap Clear cache.
- You may also tap Clear data.
- Next, tap Force Stop.
- Go back to the Apps menu.
- Look for Google Play Service and tap to open.
- Tap Clear cache and data.
- Do the same with Google Services Framework.
- After the process, restart your Android device.
Method #4 – Unmount Your SD Card

- Launch the Settings of your Android device.
- Open Storage.
- Tap the Unmount SD Card option.
- Try downloading an app.
- After the download, mount your SD Card back by following the same process. This time, choose Mount SD Card.
- Another option is to physically remove your SD card from your phone.
Method #5 – Change Your Storage Location
- Open your phone Settings. Go to Storage.
- Select Preferred install location.
- A new window will appear. Tap Let the system decide.
Was the article helpful? Let us know in the comments below.