
Microsoft Teams is among the widely used video conferencing app and collaboration platform these days. With most people working from home, it is no wonder a lot of them are logging in to Microsoft Teams each day.
Users can instantly meet via video chat and do collaboration projects remotely. It is easier to communicate online wherever you are. But, some people feel the need to change to a different collaboration platform like Slack or video conference apps like Google Meet or Zoom. Microsoft Teams may be reliable but it is not exempted from technical issues.
In some cases, users find it annoying to see Microsoft Teams automatically launching when they open their computer. The good thing is that you can disable your Microsoft Teams app, so it will stop launching automatically or you can permanently uninstall the app.
Disable Microsoft Teams and Stop from Starting Automatically on Windows 10
If you do not want it to launch upon opening your computer, you can simply disable the Microsoft Teams app in two ways.
Via Windows Settings
- Click Start and select Settings.
- Along the Windows Settings menu, look for Apps.
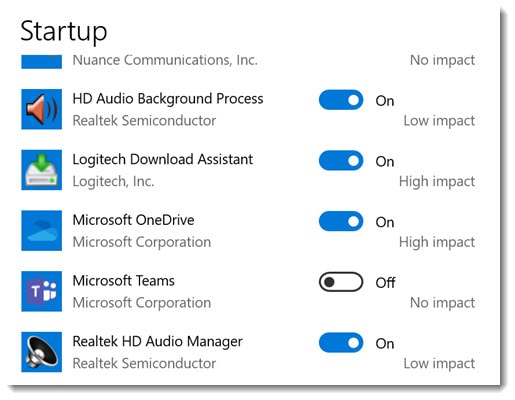
- Select Startup.
- On the search bar, type Startup and press Enter.
- Look for Startup Apps on the results and click to open.
- Look for the Microsoft Teams app.
- On the right side, toggle the button to Off. It will disable your Microsoft Teams app.
Via the Windows Taskbar
- Along the Windows taskbar, look for the Microsoft Teams icon.
- Right-click on the icon and select Settings.
- Click Do not auto-start Teams.
Via Windows Task Manager
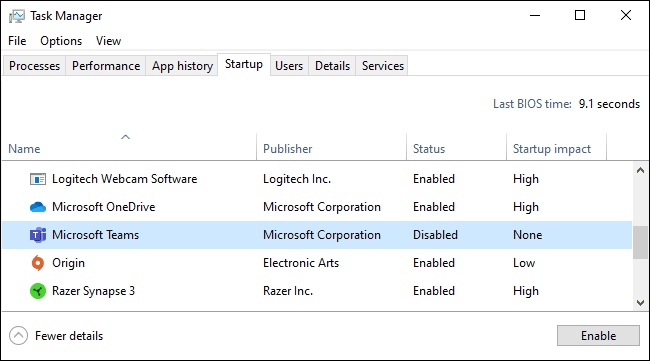
- Right-click the Windows taskbar and select “Task Manager.” or press Ctrl+Shift+Esc to open the Task Manager.
- Click the “Startup” tab, locate “Microsoft Teams” in the list, and click “Disable.”
How to Permanently Uninstall Microsoft Teams on Windows 10
Now, if you do not want to use Microsoft Teams and want the app uninstalled permanently, you can do so by following the steps below.
- Click Start and go to Settings.
- Look for Apps and click Apps & features.
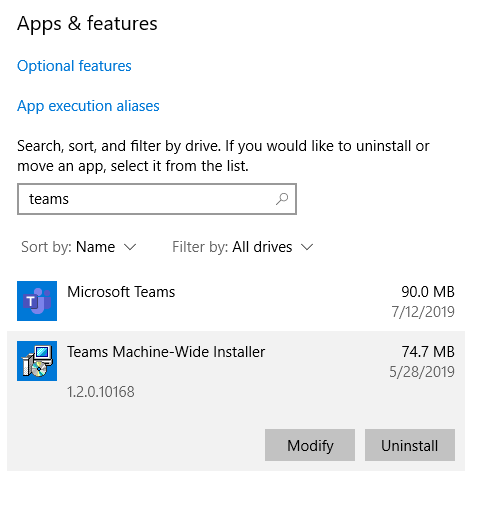
- Search for Microsoft Teams on the search bar.
- Click the app and select Uninstall.
- Click Uninstall again to confirm.
Take note that to completely uninstall your Microsoft Teams app, you also need to uninstall Teams Machine-Wide Installer. After you uninstalled Microsoft Teams, go back to Apps & features. Search for Teams and click Teams Machine-Wide Installer. Select Uninstall.
Which method do you prefer? Disabling your Microsoft Teams or permanently uninstalling it? Let us know your reasons in the comments below.