
In constant file sharing with others, you may have come across a video file with the .avi extension. The AVI Video File or Audio Video Interleave File is a common format in storing audio and video. Microsoft developed the file, which users can open on Windows devices through Windows Media Player. However, many people reported that their Windows 10 won’t play AVI video files.
How to Fix an AVI File that Won’t Play on Windows Media Player?
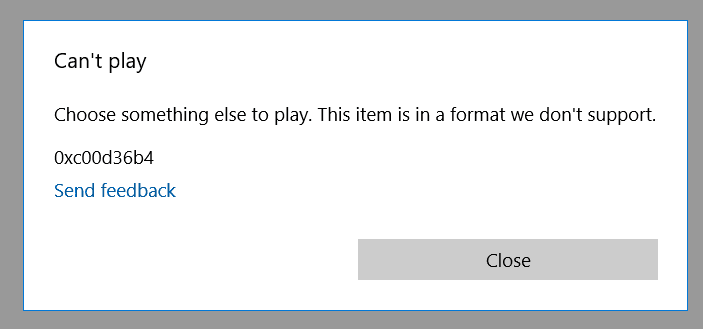
If you encounter an error when playing the AVI files on your Windows 10, there are ways on how you can solve the problem. Below are some solutions that you can follow one at a time and check if it helps you fix the error.
Solution #1 – Update Your Windows Media Player
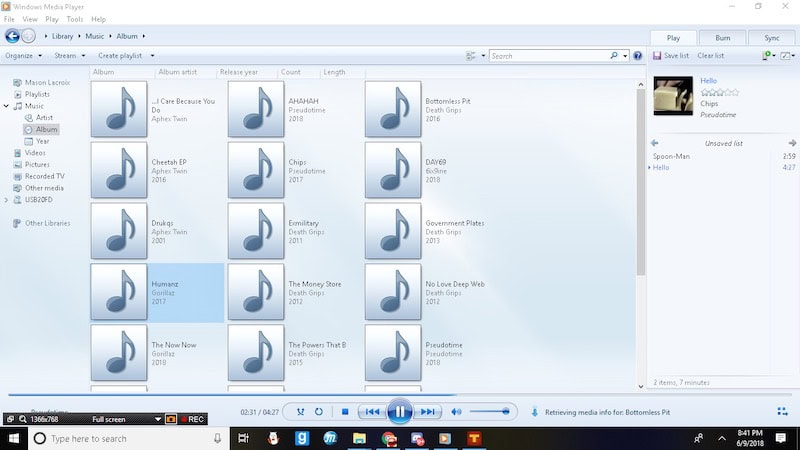
- Launch your Windows Media Player.
- Open the Menu.
- Select Tools.
- Click Options.
- Navigate to the File Types.
- Look for the Windows Video File (.avi) and check the box.
- Click OK.
- Alternatively, you can go to Help from the Main Menu and check for updates.
Solution #2 – Convert the AVI files

Other file formats are compatible with your Windows Media Player. You can convert the AVI video file that can’t be played to MP4, MOV, WMV, and more. Use a third-party converter tool online to accomplish this task.
Solution #3 – Use Another Media Player
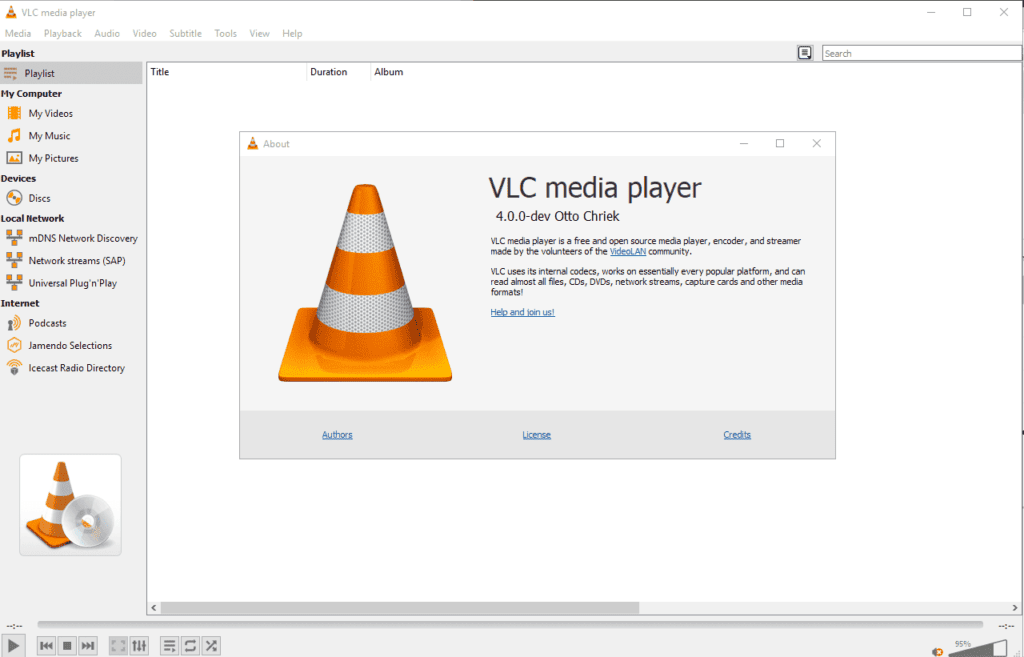
If you have other players installed on your Windows 10 PC, you can try to open your AVI file there. Try it with the VLC player first. If it does not work, you can explore other media players like GOM, Adobe Premiere Pro, KMPlayer, PotPlayer, and others that you can get your hands into.
Solution #4 – Re-download the File
There may be problems with the AVI file, such as not downloaded or transferred properly or maybe even you downloaded a corrupted file. You can try to download the file again and try opening it on your media player of choice.
Solution #5 – Download and Install the K-Lite Codec Pack

- To start, you need to have the K-Lite Installer. Download the K-Lite Codec Pack to your computer.
- Now, launch the installer.
- Click Next.
- Click the Normal mode radio button.
- Click Next.
- From the drop-down menu, select default profile 1.
- Click Next.
- Click Next again after opening the customization window.
- Choose Windows Media Player.
- Click Next.
- Click the Select All button to choose all video and file formats.
- Click Next.
- Once done, click the Finish button.
Was the article helpful? Let us know in the comments below.