
Disney Plus has become one of the most popular online streaming services alongside Netflix, Amazon Prime Video and HBO Max. A lot of users continue to value the service because of their favorite shows, Disney originals, and reliable platform. However, even if Disney+ is becoming well-known, there are still issues that arise, which may hinder the users from watching and streaming movies seamlessly.
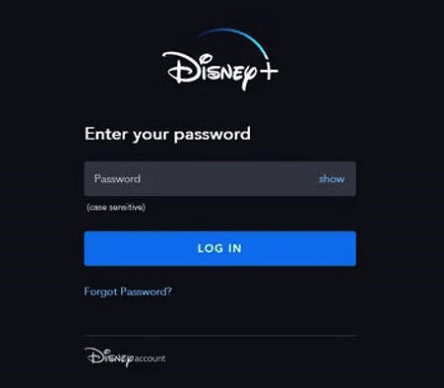
One of the issues reported by many users is the Disney Plus login button not working when they stream movies using a browser. The Disney Plus website may work fine, but when you start to click the login button, there is no response. Most users who get this error are using Microsoft Edge and Google Chrome as their browser on a Windows 10 PC.
If you encountered the same problem, check out the fixes below to know how to solve the issue.
Fix Disney Plus Login Button not Working
Solution #1 – Disable the VPN
If your VPN is currently on, you may want to disable it and try again. This method works if you can still watch Disney Plus even without the VPN service. If a VPN connection is needed for you to watch Disney+, then proceed to the next solution.
Solution #2 – Try Clicking The Sign Up Now Button

Instead of clicking the Log In button, you can first try the Sign Up Now button. Then, click the sign in or log in to your account through the sign-up page.
Solution #3 – Use the Incognito Mode or In-Private Mode of your Browser
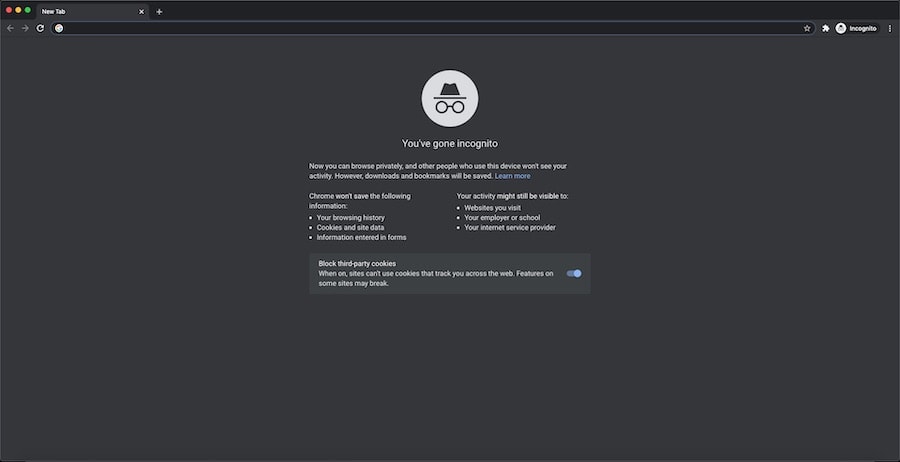
- Open any browser.
- On the top bar, click the menu icon.
- Select New incognito window or New in-private window.
- Launch the Disney Plus website and try to log in to your account.
Solution #4 – Disable Browser Extensions
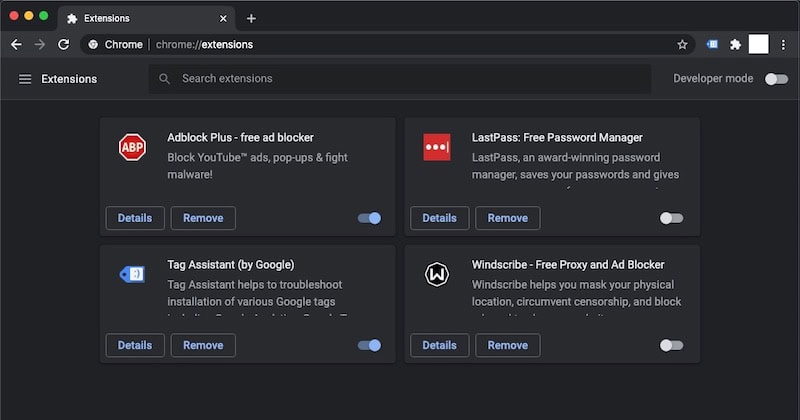
Google Chrome
- On the upper right corner, click the menu icon.
- Select More Tools.
- Click Extensions.
- Now, toggle the button to Disable on the extension.
Microsoft Edge
- Open Microsoft Edge.
- Select More (…) to open the menu.
- Select Extensions from the menu.
- Right-click the extension you want to remove and select Remove, or select the extension and click the Remove button.
Firefox
- On the upper left corner, click the Firefox button.
- Go to Add-ons.
- Select Extensions.
- Click Disable on the extension.
Safari
- Select Safari on your browser.
- Go to Preferences.
- Navigate to the Websites tab.
- Click on the plugins that you want to disable.
- Uncheck the box to disable the plugin
Opera
- On the upper right corner, click the Opera icon.
- Go to Extensions.
- Click Extensions again.
- Look for the extension, and click the Disable button.
Was the article helpful? Tell us in the comments below.
I tried all of this and it still didn’t work. I have three computers and can’t get it to work on any of them. I have updated my router also. What else?
Succesful!
On top of that make sure remove IDM or any copy app in the extensions browser.